
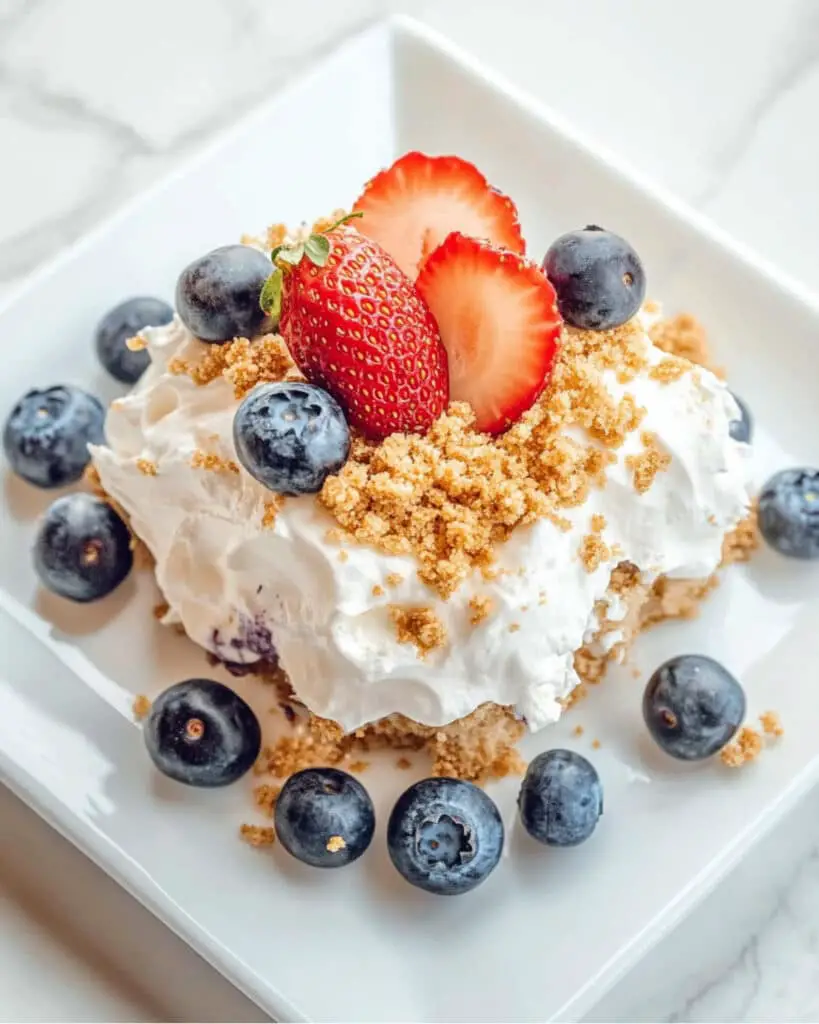
Dessert doesn’t have to mean hours in the kitchen or firing up the oven. This No-Bake Berry Lush proves that with just a few easy steps and simple ingredients, you can craft a show-stopping treat in no time at all. Creamy, dreamy layers of sweetened cream cheese and whipped topping nestle between juicy, fresh berries and a buttery vanilla wafer crust. Fast, flavorful, and fabulously fresh, this is exactly the kind of dessert you want on hand for busy weeknights, backyard gatherings, or when you just need a quick, impressive sweet fix.
Why You’ll Love This Recipe
- Ridiculously Easy: Zero baking, minimal fuss, and basic prep tools make this dessert a breeze—perfect for those days when you’re short on time but want something special.
- Fresh, Bright Flavors: The combination of tangy berries, silky cream cheese, and buttery cookies is irresistible and never feels too heavy.
- Crowd-Pleaser: Whether for family night or potlucks, everyone loves the bright layers and creamy texture—there’s never any left!
- Flexible and Forgiving: Works beautifully with whatever berries are in season, and substitutions are a snap.
- Make-Ahead Friendly: Preps ahead for stress-free serving when you want to focus on friends or family, not the kitchen.

Ingredients You’ll Need
Here’s a quick rundown of what makes this No-Bake Berry Lush so special:
- Vanilla Wafer Cookies: The foundation of the dessert, adding a buttery sweetness and gentle crunch. A classic, but graham crackers work great in a pinch.
- Butter: Used to bind the cookie crumbs into a firm, flavorful crust.
- Cream Cheese: The ultimate creamy layer—rich, tangy, and perfectly thick.
- Powdered Sugar: Sweetens the cream cheese without any grittiness. Don’t substitute with granulated sugar!
- Vanilla Extract: Adds warmth and depth to the cream base.
- Whipped Topping: For that irresistibly fluffy, light-as-air texture. Regular or light both work nicely, just make sure it’s thawed.
- Fresh Berries: Strawberries, blueberries, blackberries, raspberries—mix them up or use your favorites for a burst of tart-sweet freshness. Slice larger berries for better layering.
Note: You’ll find the complete list of ingredients, along with their exact measurements, in the printable recipe card at the bottom of this post.
Variations
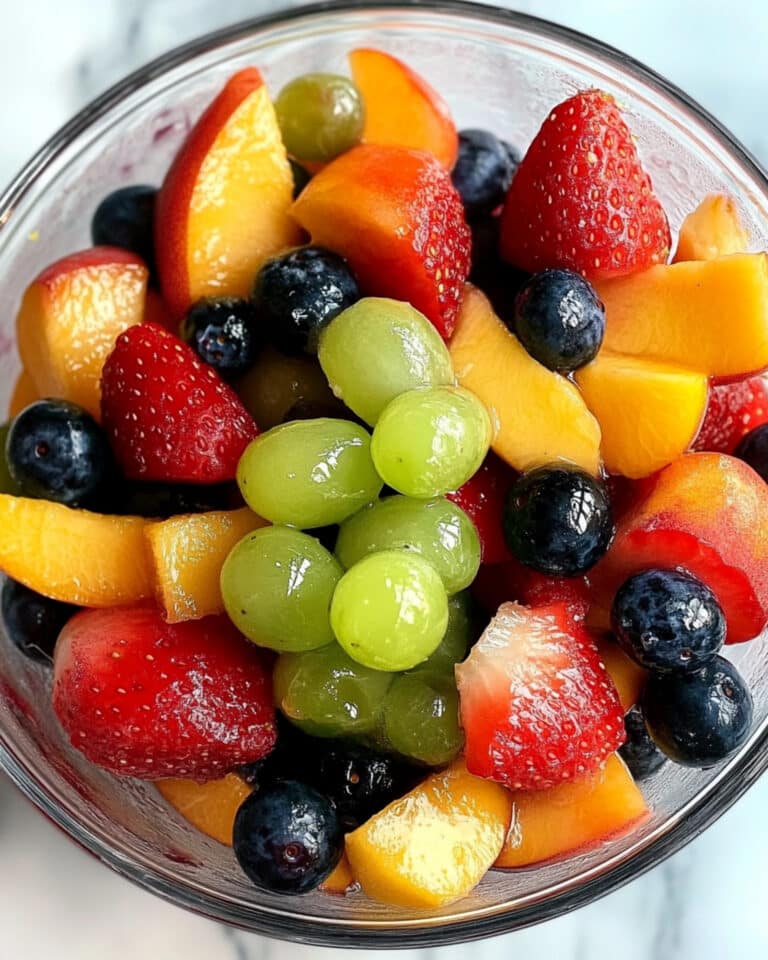
- Berry Swap: Try peaches, mangoes, sliced bananas, or even kiwi for a fun twist on the fruit layer.
- Cookie Base Change: Graham crackers, shortbread, or chocolate wafers make excellent substitutes for vanilla wafers—use what you love or already have.
- Lighter Version: Use light or reduced-fat cream cheese and whipped topping for a lower-calorie treat that still delivers on taste.
- Go Nutty: Sprinkle finely chopped toasted almonds, pecans, or walnuts between layers or on top for extra crunch.
- Citrus Zing: Fold in a little lemon or orange zest with the cream cheese layer for added brightness.
How to Make No-Bake Berry Lush
Step 1: Prepare the Crust
Start by crushing vanilla wafer cookies. Place them in a sturdy zip-top bag and smash with a rolling pin until you have fine crumbs. Pour them into your pan, stir in melted butter, and press the mixture into a firm, even layer across the bottom.
Step 2: Make the Creamy Layer
In a large bowl, combine softened cream cheese, powdered sugar, and vanilla extract. Beat until smooth and creamy with an electric mixer. Then, fold in one container of whipped topping until fully incorporated and airy.
Step 3: Layer and Assemble
Spread half of the creamy mixture over your prepared cookie crust. Arrange half of your fresh berries over this layer—feel free to pile them on generously! Repeat: another layer of cream cheese mixture, then the remaining berries.
Step 4: Top and Chill
Add a swoosh of whipped topping over the berries (about half of the remaining tub), spreading it evenly for a cloud-like finish. For a little crunch, crumble a few extra cookies over the top as a finishing touch.
Step 5: Chill and Serve
Pop your dessert in the fridge for at least one hour. This helps everything firm up and the flavors to mingle together. Slice, serve, and savor each bite!
Pro Tips for Making the Recipe
- Firm Crust: Press those crumbs in tightly! Use the bottom of a glass to compact the crust for easy slicing later.
- Room Temperature Cream Cheese: Make sure the cream cheese is nice and soft before beating—this prevents lumps and gives you a truly smooth filling.
- Don’t Rush the Chill: Giving the dessert time to chill not only makes slicing easier but lets the flavors develop. Trust me, it’s worth the wait!
- Cutting Clean Slices: Wipe your knife between each cut for neat, bakery-worthy layers.
How to Serve
This No-Bake Berry Lush shines all on its own, but pairing can take it to another level:
- Garnish: Add a sprinkle of lemon zest, a dusting of powdered sugar, or a few mint leaves for eye-catching color and a hint of freshness.
- With Coffee or Tea: The cool, creamy texture is perfect beside a hot drink, especially for those afternoon sweet cravings.
- Alfresco: Serve chilled at picnics, BBQs, or summer gatherings—it’s so refreshing in warm weather!
Make Ahead and Storage
Storing Leftovers
Cover the pan with plastic wrap or transfer slices to an airtight container. Store in the refrigerator for up to 3 days. The crust may soften slightly, but the flavors remain delicious.
Freezing
You can freeze the assembled dessert for up to 1 month. Wrap tightly and thaw overnight in the fridge before serving. Best results when frozen before adding the top whipped layer; add that fresh before serving if possible.
Reheating
No reheating needed—this dessert is meant to be served cold right from the fridge!
FAQs
-
Can I use frozen berries instead of fresh berries?
Absolutely, frozen berries will work in a pinch. Just thaw and drain them well first to avoid excess moisture, which can make the layers watery.
-
Can I make this dessert in advance for a party?
Yes! No-Bake Berry Lush is ideal for making ahead. Prepare it up to a day in advance and let it chill until serving. The flavors meld together even better with time.
-
What if I don’t have an electric mixer?
No worries! You can mix the cream cheese layer by hand with a sturdy whisk or spatula—just make sure the cream cheese is soft to get the smoothest texture.
-
Can I use homemade whipped cream instead of store-bought whipped topping?
Definitely. Freshly whipped cream gives a richer, more natural taste. Whip heavy cream with a little powdered sugar to stiff peaks and substitute cup-for-cup. Be mindful: homemade whipped cream won’t hold as long as the stabilized store-bought version.
Final Thoughts
Don’t wait for a special occasion—treat yourself and your loved ones to the joy of No-Bake Berry Lush. It’s quick, it’s gorgeous, and it’s bursting with flavor in every creamy bite. Whether you stick to the basics or try a new twist, you’re guaranteed a dessert that everyone will swoon over. Go ahead and give it a try; there’s nothing quite as satisfying as an effortlessly stunning sweet treat you whipped up in no time!
Print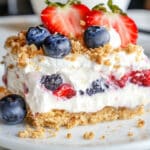
No-Bake Berry Lush Recipe
- Prep Time: 20 minutes
- Cook Time: 0 minutes
- Total Time: 1 hour 20 minutes (includes chilling)
- Yield: 6 servings
- Category: Desserts
- Method: No-cook
- Cuisine: American
- Diet: Vegetarian
Description
This easy no-bake Berry Lush dessert features a buttery crushed vanilla wafer cookie base layered with a creamy whipped cream cheese filling and fresh berries. Perfect for summer gatherings, it requires no oven time and can be made ahead for a refreshing, crowd-pleasing treat.
Ingredients
For the Cookie Crust
- 35 vanilla wafer cookies
- 5 tablespoons butter, melted
For the Cream Cheese Layer
- 8 oz cream cheese, softened
- 1 cup powdered sugar
- 1 1/2 teaspoons vanilla extract
- 2 (8 oz) containers whipped topping, thawed (divided)
For the Berry Layer
- 2 lbs fresh berries (such as strawberries, blueberries, raspberries, blackberries)
Instructions
- Prepare the Cookie Crust – Place the vanilla wafer cookies in a large ziptop bag and crush them into fine crumbs using a rolling pin. Transfer the crumbs to an 8-inch square baking pan, add melted butter, and stir until well combined. Press the mixture firmly and evenly into the bottom of the pan.
- Make the Cream Cheese Mixture – In a large mixing bowl, combine softened cream cheese, powdered sugar, and vanilla extract. Beat with an electric mixer until smooth and creamy. Gently fold in one (8 oz) container of thawed whipped topping until fully incorporated.
- Prepare the Berries – Rinse and dry the fresh berries. Slice any larger berries, such as strawberries, as desired.
- Layer the Dessert – Spread half of the cream cheese mixture evenly over the cookie crust. Arrange half of the berries on top of the cream cheese layer. Repeat with the remaining cream cheese mixture and berries to create another layer.
- Add Final Topping and Chill – Spread about half of the remaining whipped topping (from the second container) over the final berry layer. Optionally, crumble a few more vanilla wafer cookies over the top for garnish. Cover and chill in the refrigerator for at least 1 hour or until set. Serve and enjoy!
Notes
- You can use any combination of fresh berries you prefer.
- Chilling longer will help the layers set for cleaner slices.
- For a gluten-free version, use gluten-free vanilla wafers.
- This dessert can be made a day in advance and kept in the refrigerator.
- Crumbled cookies on top add extra texture and flavor.
Nutrition
- Serving Size: 1 slice (about 1/6 of dessert)
- Calories: 420
- Sugar: 30g
- Sodium: 320mg
- Fat: 25g
- Saturated Fat: 13g
- Unsaturated Fat: 10g
- Trans Fat: 0g
- Carbohydrates: 47g
- Fiber: 4g
- Protein: 4g
- Cholesterol: 50mg


