
If you’re on the lookout for a delightful holiday treat that’s both adorable and delicious, then you’re going to love this Mint Snowman Marshmallows Recipe. These fluffy little snowmen not only taste like a cool minty dream, but their charming shape makes them the perfect festive snack or gift. When I first tried making these, I was amazed at how simple the process is—and how much joy they brought to my family’s winter gatherings. Stick with me, and I’ll guide you through every step to make sure your marshmallows turn out picture-perfect and melt-in-your-mouth magical!
Why You’ll Love This Recipe
- Fun & Festive: These marshmallows double as cute decorations and tasty treats for the holidays.
- Minty Fresh Flavor: The hint of mint sets them apart from your average marshmallow, giving a refreshing twist.
- Easy to Make: Even if you don’t usually make marshmallows from scratch, you’ll find this surprisingly straightforward.
- Customizable: You can dress them up with chocolate and candy melts to create your perfect snowman look.

Ingredients You’ll Need
Picking the right ingredients really matters here because it’s all about achieving that fluffy, soft marshmallow with a delicate mint flavor. And trust me, the final texture depends on getting the gelatin and sugar proportions just right!
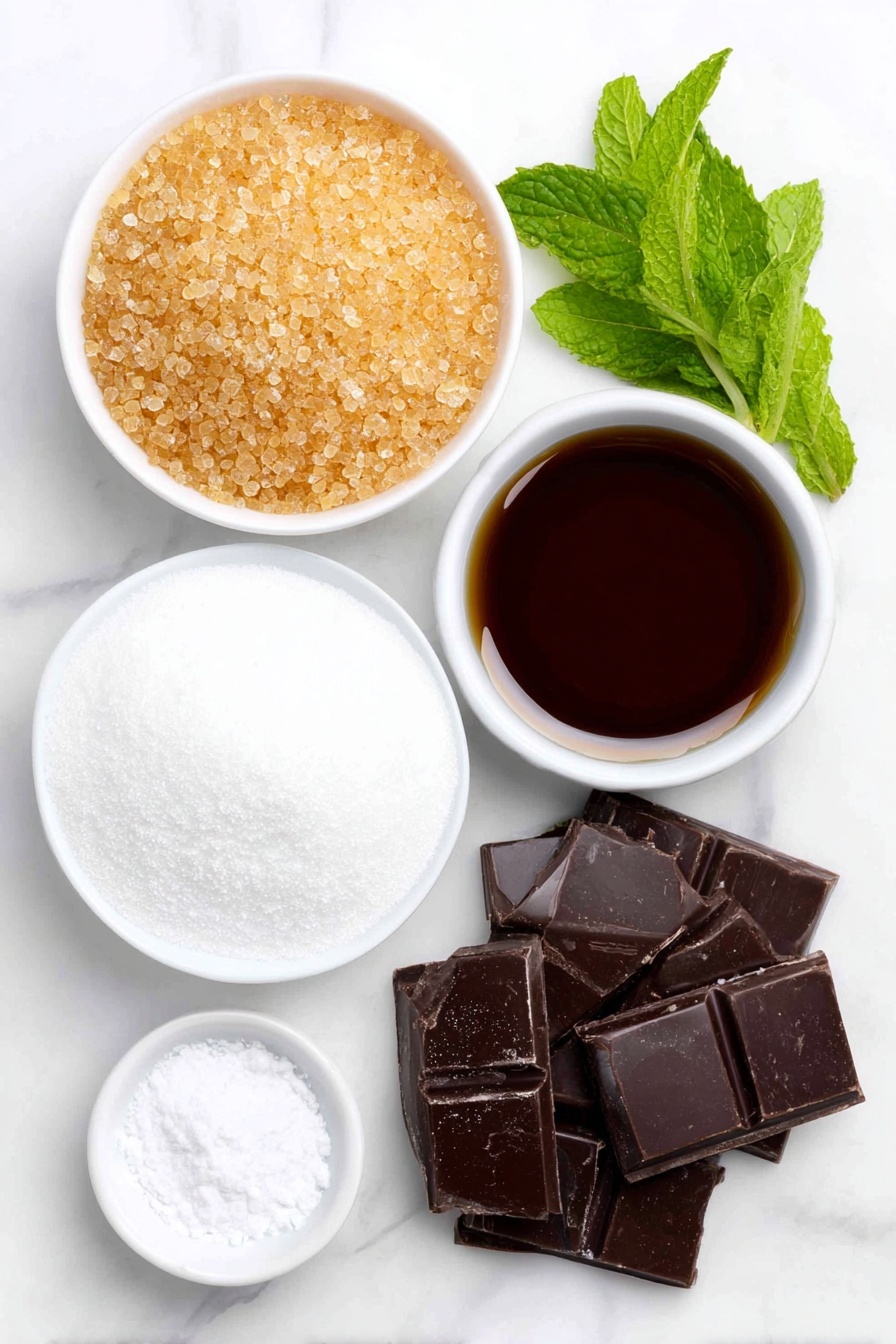
- Gelatin: This gives marshmallows their signature bounce, so make sure to bloom it well for the perfect texture.
- Sugar: Essential for sweetness and structure—plain granulated works best.
- Corn syrup: Helps prevent crystallization and keeps the marshmallows smooth and chewy.
- Salt: Just a pinch enhances the flavors and balances the sweetness.
- Mint extract: The star of the show—adds that refreshing peppermint punch you’ll love!
- Powdered sugar: For dusting—this keeps your marshmallows from sticking together after setting.
- Candy melts (orange): Perfect for the carrot nose of the snowman; easy to melt and shape.
- Dark chocolate: Use chopped or chips for the snowman’s eyes and buttons—bittersweet contrast is key.
Variations
I love experimenting with this Mint Snowman Marshmallows Recipe – you can really tailor it to your taste or occasion. Feel free to swap the mint extract for vanilla if you want something more traditional or add your own colorful accents!
- Chocolate Lovers’ Variation: I’ve swapped out the dark chocolate details for white chocolate chips once, which made the snowmen look extra cute and festive.
- Extract Swap: Instead of mint extract, you could use peppermint oil for a stronger hit, or even add a few drops of green food coloring for extra fun.
- Allergy-Friendly: If corn syrup isn’t your thing, I’ve successfully used golden syrup, but I find the texture slightly different—still delicious!
- Seasonal Variation: Around summertime, I sometimes add a dash of lime zest for a fresh twist that’s not too wintry but still so tasty.
How to Make Mint Snowman Marshmallows Recipe
Step 1: Bloom the Gelatin
Start by sprinkling the gelatin over 1/2 cup of cold water. Let it sit and absorb for about 5 minutes—this “blooming” is super important because it softens the gelatin, ensuring your marshmallows get that perfect texture without any lumps. I learned that rushing this part results in a gritty texture, so patience here really pays off!
Step 2: Cook the Sugar Syrup
While the gelatin is blooming, combine sugar, corn syrup, salt, and 1/2 cup of water in a saucepan. Bring it to a boil over medium-high heat without stirring, and let it cook until it reaches the soft-ball stage (about 240°F on a candy thermometer). This step is where you need your eye on the pot—too low, and the marshmallows won’t set properly; too high, and they’ll dry out. I always use a candy thermometer to nail this every time.
Step 3: Mix and Whip
Once the sugar syrup hits the right temperature, carefully whisk it into the bloomed gelatin. Add the mint extract here for that fresh flavor kick. Grab your stand mixer and whip the mixture on high speed for about 10 minutes, or until it’s thick, fluffy, and glossy. You’ll know you’ve hit the sweet spot when it holds soft peaks—this is the magic that makes marshmallows so delightfully airy.
Step 4: Spread and Set
Dust a pan with powdered sugar and pour your marshmallow mixture into it, smoothing the top as best as you can (wetting your spatula helps prevent sticking). Let it sit uncovered at room temperature for at least 4 hours, but overnight is best if you’ve got the time. Here’s what I learned: patience is key. Rushing the setting time can lead to marshmallows that are sticky and hard to cut.
Step 5: Cut and Decorate Your Snowmen
Once set, cut into snowman shapes or simple rectangles if you prefer, then use melted orange candy melts for the carrot noses and dark chocolate for eyes and buttons. I like to use a small piping bag or even a toothpick for precise decorating. It’s fun to get creative here—I once added tiny scarves with colored icing, and my family went crazy for it!
Pro Tips for Making Mint Snowman Marshmallows Recipe
- Thermometer Is Your Best Friend: Always monitor syrup temperature carefully; it ensures perfect marshmallow consistency.
- Avoid Humidity: I learned the hard way that making marshmallows on a humid day can cause them to become sticky, so try for a dry day or use an air-conditioned room.
- Use Fresh Gelatin: Older gelatin can affect texture—fresh opened packets give the best bouncy marshmallows.
- Don’t Skip Powdered Sugar Dusting: This simple step prevents your marshmallows from sticking together and makes cutting a breeze.
How to Serve Mint Snowman Marshmallows Recipe
Garnishes
I love dusting these marshmallows lightly with some extra powdered sugar just before serving—makes them look snowy and festive. Fresh mint leaves on the side add a pretty pop of color and boost the minty vibe. Sometimes, I drizzle a little melted chocolate over them for an extra touch of decadence.
Side Dishes
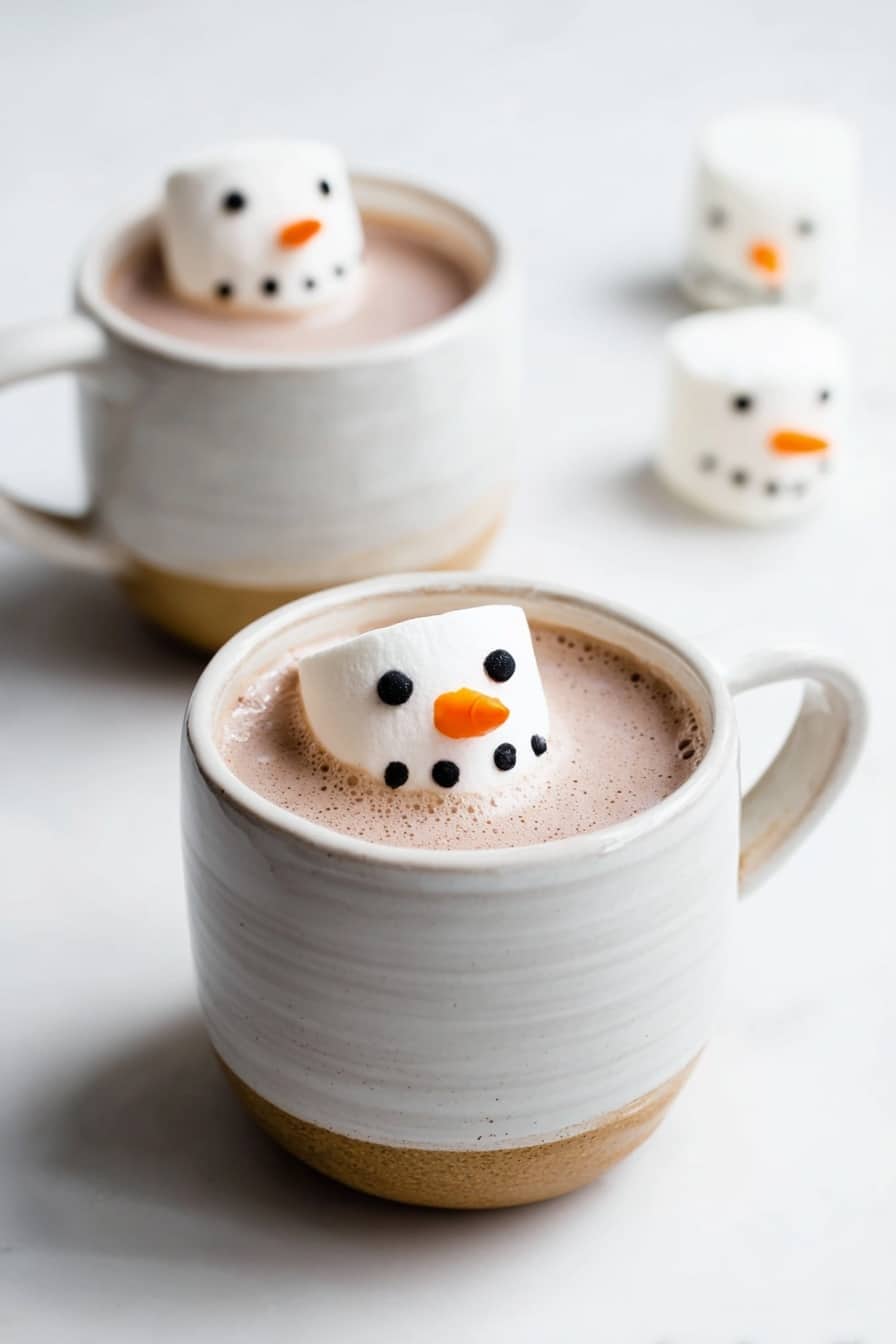
These mint marshmallow snowmen are perfect alongside a warm cup of cocoa or a peppermint hot chocolate. For holiday parties, I like pairing them with gingerbread cookies or spiced nuts—the combo delights every palate.
Creative Ways to Present
For gift-giving, I package these marshmallows individually in clear cellophane bags with a festive ribbon. At my last Christmas party, I arranged them sitting upright on a platter decorated with holly and tiny twinkling lights—such a crowd-pleaser! You can also stick them on skewers for fun marshmallow kabobs to serve with warm drinks.
Make Ahead and Storage
Storing Leftovers
I store leftover Mint Snowman Marshmallows in an airtight container dusted with powdered sugar between layers to keep them soft and prevent sticking. They last well at room temperature for up to a week—perfect for nibbling throughout the festive season.
Freezing
If you want to save them for later, freezing works great! Wrap each marshmallow tightly in plastic wrap, then place in a freezer bag. When you’re ready to enjoy, just thaw them at room temperature—no need to microwave. I’ve found freezing doesn’t affect the texture much if wrapped well.
Reheating
While marshmallows don’t really need reheating, if you want to soften frozen or chilled ones quickly, a few seconds in the microwave (10–15 seconds) does the trick. Be cautious not to overheat; you want them soft but still holding their shape.
FAQs
-
Can I use peppermint extract instead of mint extract in the Mint Snowman Marshmallows Recipe?
Absolutely! Peppermint extract works just as well and gives a slightly stronger mint flavor. Just be sure to use it sparingly because it can be more intense than mint extract.
-
How do I make the snowman faces and noses without candy melts and chocolate?
If you don’t have candy melts or chocolate, small edible markers or icing pens can work well for drawing faces, and mini orange sprinkles or colored icing can substitute for carrot noses.
-
My marshmallows are sticky and hard to cut—how do I fix that?
This usually happens if the marshmallows haven’t set long enough or due to humidity. Make sure to dust the cutting surface and knife with powdered sugar, and let the marshmallows set overnight in a cool, dry place.
-
Can I store the Mint Snowman Marshmallows Recipe in the fridge?
I recommend storing marshmallows at room temperature in an airtight container. Refrigeration can sometimes make them tough or cause condensation, which affects texture negatively.
Final Thoughts
This Mint Snowman Marshmallows Recipe holds a special place in my heart because it brings together the fun of crafting with the joy of sweet, cozy flavors. I highly encourage you to try making these yourself—even if you’ve never made marshmallows before, you’ll find it’s a rewarding, fun project that’s sure to impress friends and family. And the best part? Once you taste that melt-in-your-mouth minty softness, you may just find yourself wanting to make them year-round!
Print
Mint Snowman Marshmallows Recipe
- Prep Time: 10 minutes
- Cook Time: 30 minutes
- Total Time: 40 minutes plus 4 hours setting time
- Yield: 25 marshmallows
- Category: Dessert
- Method: Stovetop
- Cuisine: American
Description
Delightfully festive and refreshing, Mint Snowman Marshmallows are a fun twist on classic marshmallows, flavored with cool mint and decorated to resemble charming snowmen. These sweet treats are perfect for holiday gatherings or a whimsical winter snack.
Ingredients
Marshmallow Base
- 1 tbsp gelatin (1 envelope)
- 1 cup sugar
- 2 tbsp corn syrup
- 1 pinch salt
- 1/4 tsp mint extract
Decoration
- 1/2 cup powdered sugar
- 1/4 cup orange candy melts
- 1/4 cup dark chocolate (chopped)
Instructions
- Bloom the Gelatin: Sprinkle the gelatin over 1/4 cup of cold water and let it soak for 5 minutes to soften.
- Prepare the Syrup: In a saucepan, combine sugar, corn syrup, salt, and 1/4 cup water. Heat over medium heat, stirring until sugar dissolves. Bring to a boil and cook until the syrup reaches 240°F (soft ball stage) on a candy thermometer.
- Mix Gelatin and Syrup: Remove the syrup from heat and add the bloomed gelatin, stirring until fully dissolved.
- Add Flavor: Transfer the mixture to a mixer bowl, add mint extract, and beat on high speed until the mixture is thick, shiny, and has tripled in volume (about 10 minutes).
- Set the Marshmallow: Dust a pan with powdered sugar. Pour the marshmallow mixture into the pan and smooth the top. Let it set uncovered at room temperature for at least 4 hours or overnight.
- Shape the Marshmallows: Cut the set marshmallow into snowman shapes using a cookie cutter or with a knife.
- Decorate: Melt the orange candy melts and dark chocolate separately. Dip or pipe the candy melts to create the snowman’s nose and use the dark chocolate for eyes and buttons. Allow the decorations to set completely.
Notes
- Ensure the syrup reaches the correct temperature (240°F) for proper marshmallow texture.
- Use a candy thermometer for best results to avoid under or overcooking the syrup.
- Allow marshmallows to fully set before cutting to maintain shape.
- If you don’t have a snowman cookie cutter, cut marshmallows into circular shapes and stack for a DIY snowman.
- Store marshmallows in an airtight container to keep them fresh for up to 2 weeks.
Nutrition
- Serving Size: 1 marshmallow
- Calories: 52 kcal
- Sugar: 11.7 g
- Sodium: 79 mg
- Fat: 0.5 g
- Saturated Fat: 0.4 g
- Unsaturated Fat: 0.1 g
- Trans Fat: 0 g
- Carbohydrates: 12.5 g
- Fiber: 0.01 g
- Protein: 0.3 g
- Cholesterol: 0.01 mg


