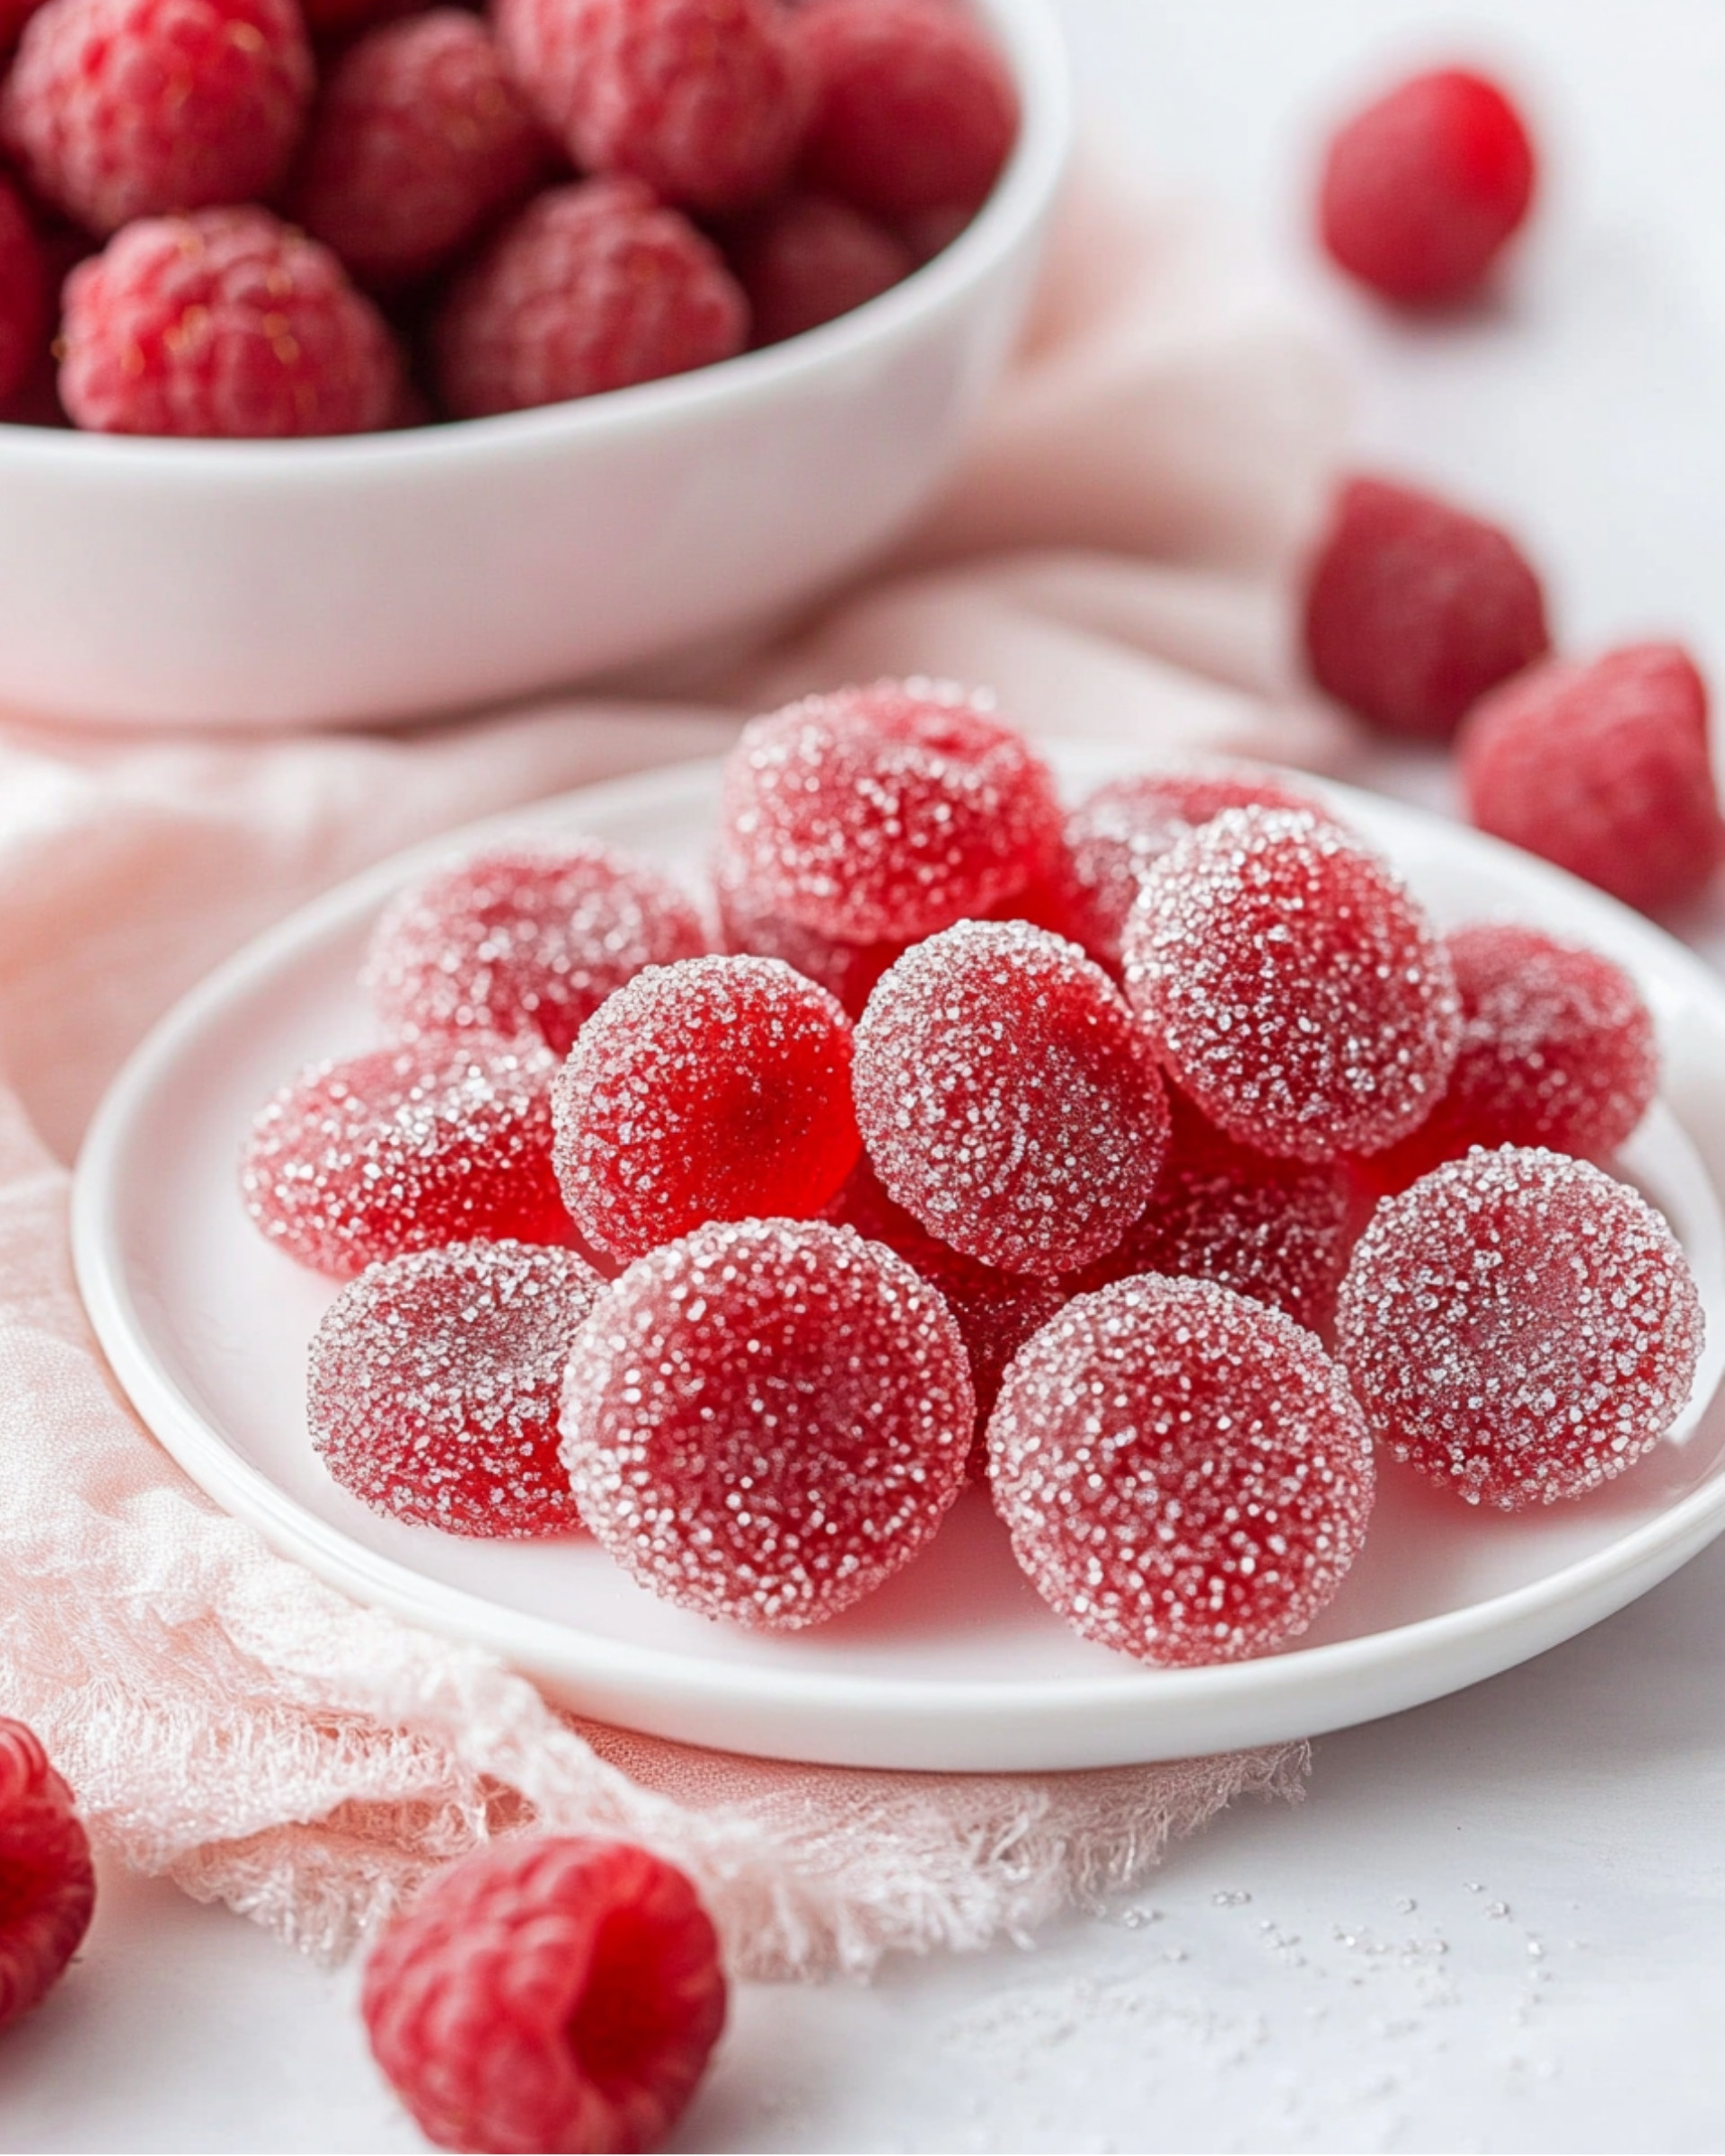
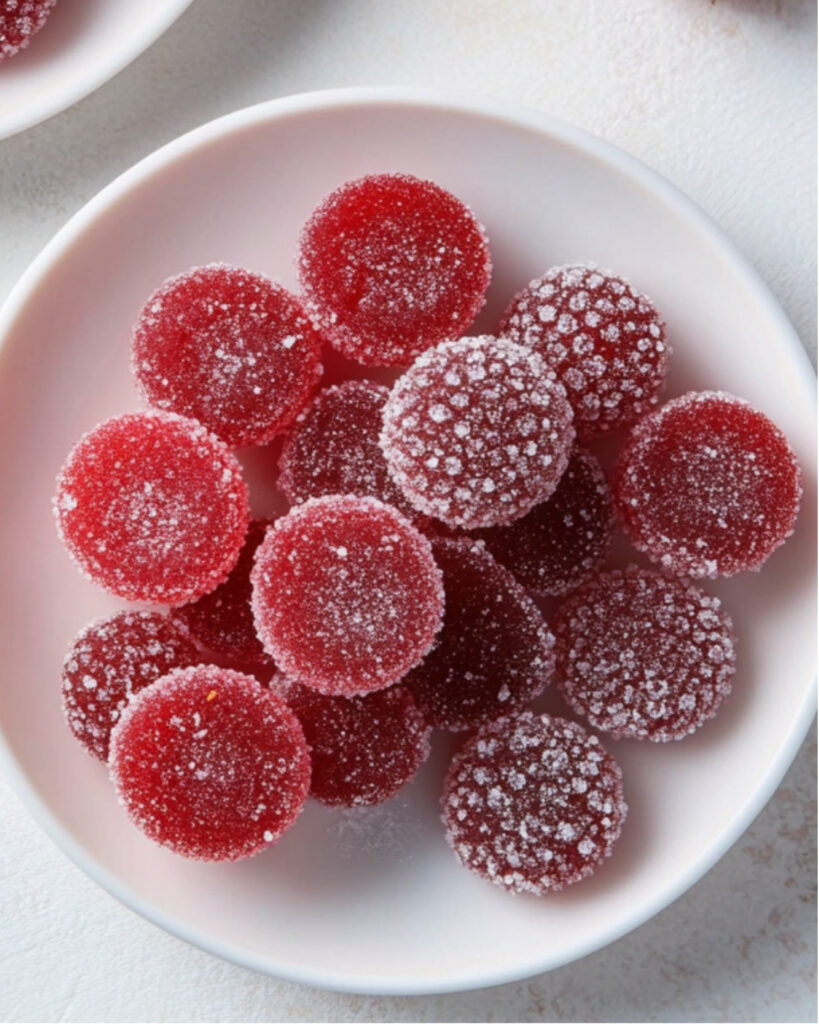
There’s something downright magical about making your own gummies at home, especially when they burst with the vibrant, sun-kissed flavor of fresh raspberries. These Homemade Raspberry Pectin Gummies are the treat you didn’t know you absolutely needed—sweet, tart, and beautifully chewy, with a pure fruit taste that commercial candies simply can’t touch. With a handful of simple ingredients and a little time, you’ll be amazed at how easy and satisfying it is to whip up a big batch of jewel-like gummies, perfect for sharing (or keeping all to yourself). Whether you’re looking for a fun kitchen project or a crowd-pleasing snack, these gummies check every box—fast, foolproof, and undeniably delicious. “
Why You’ll Love This Recipe
- Unmatched Freshness: You won’t find this juicy raspberry flavor in any store-bought gummy—incredible fruitiness in every bite!
- Simple & Quick: Prep time is minimal, and the process is straightforward. The hardest part is waiting for them to set!
- Perfect for Busy Days: You can spread out the steps or make the gummies in an evening. No fancy gadgets—just a saucepan and a mold.
- Kid & Crowd Approved: Big and little hands both can’t resist these shiny, tangy gems.
- No Weird Ingredients: Every ingredient has its purpose, from texture to taste.
Ingredients You’ll Need
Gather these essentials before you get started for the best results.
All ingredient quantities are based on flavor, texture, and key chemistry—don’t substitute or reduce unless suggested below!
- Fresh Raspberries: The base for that naturally sweet-tart flavor; if out of season, use good quality frozen.
- Granulated Sugar: Absolutely vital for sweetness and successful setting—this isn’t the place to skimp.
- Corn Syrup: Prevents crystallization, giving that irresistible chewy texture.
- Fruit Pectin (HM/High-Methoxyl): Make sure it’s regular/Classic (like Sure Jell Yellow or Ball Classic); this is what creates that classic gummy set.
- Filtered Water: Used in both the raspberry mixture and the pectin solution, for a clean, pure taste.
- Baking Soda: Helps activate the pectin for proper gelling.
- Citric Acid: Adds the perfect tangy punch and helps finish the set—don’t skip it.
- Extra Sugar (for coating): Adds a sparkly, sweet finish and keeps gummies from sticking.
Tip: Have your molds and parchment-lined pans ready BEFORE you start cooking. Once the mixture is ready, the window to pour is quick!
Note: You’ll find the complete list of ingredients, along with their exact measurements, in the printable recipe card at the bottom of this post.
Variations
Get creative with these easy tweaks:
- Berry Swap: Substitute blackberries or blueberries for a different berry twist—just keep the puree measurement the same.
- Citrus Lift: Mix a little lemon or orange zest into the raspberry puree for added depth.
- Flavor Layering: Fold in a few drops of vanilla extract or swap part of the water for fruit juice concentrate before cooking.
- Fun Shapes: Use silicone molds in different designs—or cut slabs into fun motifs with cookie cutters.
Note: Stick with high-methoxyl pectin and do not reduce sugar, or you won’t get the right texture!
How to Make Homemade Raspberry Pectin Gummies
1. Prep Your Molds
Arrange silicone molds or a parchment-lined baking pan on a sturdy, heat-proof baking sheet—safety first! This candy is HOT.
2. Make Raspberry Puree
Blend or process raspberries until smooth (keep it slow if you don’t want to pulverize seeds). Strain through a fine mesh sieve until you have a perfectly silky, seedless puree.
3. Start the Candy Base
In a heavy saucepan, combine your measured raspberry puree, sugar, and corn syrup. Bring the mixture to a gentle boil over medium heat.
4. Prepare the Pectin Solution
Simultaneously, in a smaller saucepan, whisk together pectin, baking soda, and water. Expect a foamy reaction—this is normal! Simmer gently until evenly dissolved.
5. Combine & Cook
Pour the hot pectin mixture into your boiling raspberry base. Attach a candy thermometer and cook, stirring occasionally, until the temperature reaches between 230–240°F (236°F is the sweet spot). Stir diligently once above 220°F to avoid any scorching!
6. Finish & Mold
Dissolve citric acid in a splash of water and add to your hot candy mixture—stand back, as it may bubble and release steam! Working quickly, pour the thick, glossy mixture into your prepared molds or pan.
7. Cool & Set
Let the gummies cool at room temperature (ideally overnight, or at least two hours) until perfectly solid and springy.
8. Unmold & Sugarcoat
Pop the gummies out of their molds or slice into squares. Roll in granulated sugar for that classic sparkle and to prevent sticking.
Pro Tips for Making the Recipe
- Perfect Texture: Use a candy thermometer for accuracy—guessing will lead to either runny or too-firm results.
- Speed Is Key: Once the candy leaves the stove, get it in the molds fast—hesitation means a thicker, uneven pour.
- No Substitutions on Sugar: If you try to cut sugar or swap with alternatives, your gummies simply won’t set. This is kitchen chemistry at its finest.
- Clean Work Area: The mixture is extremely hot and sticky, so clear your space and wear oven mitts for safety.
How to Serve

Homemade raspberry gummies are delicious just as they are—scatter them in a bowl for snacking, tuck them into lunchboxes, or add to a dessert platter at gatherings to wow your friends.
- Gifting: Bundle them in a small jar or tin as a thoughtful edible gift.
- Party Favors: Wrap in parchment or wax paper for party treats.
- With Ice Cream: Sprinkle diced gummies over vanilla or chocolate ice cream for a tangy-sweet surprise.
- Decor: Use as edible decorations on cakes or cupcakes.
Make Ahead and Storage
Storing Leftovers
- Keep gummies uncovered at cool room temperature for up to 1 week. For longer freshness, layer between parchment and refrigerate for up to 2 weeks.
Freezing
- For long-term storage, freeze gummies in an airtight container, with parchment between layers, for up to 3 months.
Reheating
- No need to reheat for regular gummies, but if you freeze them, let them thaw at room temperature until chewy again.
Note: Avoid storing in humid environments—they may get sticky or even start to melt.
FAQs
-
Can I use less sugar or a sugar alternative in this recipe?
You absolutely must use the full amount of regular granulated sugar for proper texture and preservation. Sugar is a key part of how the gummies set—reducing or replacing it will change the outcome drastically, resulting in runny candy or no set at all.
-
What kind of pectin is best for these gummies?
Always opt for regular, high-methoxyl fruit pectin (like Sure Jell Original in the yellow box or Ball Classic). Low-sugar or “jam/jelly” pectins won’t create the firm, classic gummy texture you’re aiming for.
-
Can I use store-bought raspberry puree or other fruits?
You can use store-bought puree if it’s 100% fruit and unsweetened. The recipe works well with other berries or even blended mango—just make sure to strain for a silky finish and measure puree by weight or volume as instructed.
-
How do I make gummies without molds?
No molds on hand? Simply pour the cooked mixture into a parchment-lined 9×9 pan, let it set, and slice into cubes or punch out shapes with cookie cutters for a homemade, rustic vibe.
Final Thoughts
Fresh, bouncy, and bursting with real berry goodness, these Homemade Raspberry Pectin Gummies truly outshine anything you’ll find in a bag. The process is a little bit of kitchen magic: just a handful of simple ingredients turns into a heavenly treat that’s perfect for sharing, gifting, or a special snack just for you. Give this recipe a try—you’ll love seeing the smiles these sweet little gems bring to every face!
Print
Homemade Raspberry Pectin Gummies Recipe
- Prep Time: 30 minutes
- Cook Time: 45 minutes
- Total Time: 2 hours 15 minutes
- Yield: About 120 (3 mL) gummies
- Category: Desserts
- Method: Stovetop
- Cuisine: American
- Diet: Vegetarian
Description
These homemade raspberry pectin gummies are delightfully chewy, packed with fresh raspberry flavor, and have a perfect jelly texture thanks to classic fruit pectin. Made with real raspberries, these gummies are the perfect balance of tart and sweet, ideal for a homemade treat or edible gift.
Ingredients
Fruit Base
- 18–20 ounces / 525 g fresh raspberries, or 20-22 ounces frozen raspberries, thawed
Sugar Syrup
- 1 3/4 cup / 350 g granulated sugar, plus more for coating
- 3 tablespoons / 66 g corn syrup
Pectin Mixture
- 6 tablespoons / 54 g regular fruit pectin (Sure Jell Original, Ball Classic, or other HM pectin)
- 1/2 cup / 120 g filtered water
- 1 teaspoon baking soda
Finishing
- 1/4 cup filtered water
- 1 teaspoon powdered citric acid
Instructions
- Prepare Molds: Set silicone molds or a silicone cake pan (9×9 inch square) on a cookie sheet placed on a heat-proof surface. If using a regular baking pan, line it with parchment paper. This prevents sticking and protects surfaces from the hot candy mixture.
- Puree Raspberries: Puree the raspberries in a food processor or blender until smooth. To avoid pulverizing seeds, use medium-low speed in a high-powered blender. Strain the puree through a fine mesh sieve to remove seeds. Measure 1½ cups (350g) of seedless raspberry puree.
- Make Fruit Syrup: In a medium (3-4 quart) heavy saucepan, combine the raspberry puree, granulated sugar, and corn syrup. Place the pan over medium to medium-high heat and bring the mixture to a boil.
- Prepare Pectin Mixture: In a small saucepan, combine pectin, baking soda, and ½ cup water. The mixture will foam up considerably. Bring it to a simmer over medium-high heat, stirring occasionally. Once simmering, pour this mixture into the raspberry mixture in the main saucepan.
- Cook to Temperature: Attach a candy thermometer to the saucepan. Continue cooking over medium to medium-high heat, stirring occasionally, until the mixture reaches 230-240°F (about 45 minutes). As the temperature surpasses 220°F, stir more frequently to prevent burning and ensure even cooking.
- Add Citric Acid: Once the mixture reaches your target temperature (ideally 236°F), remove the pan from heat. Quickly dissolve citric acid in ¼ cup water, then add it to the hot mixture (it may sputter and steam). Stir well.
- Pour into Molds: Immediately transfer the hot mixture to a large, preferably pre-warmed, spouted measuring cup. Pour it quickly and carefully into the prepared molds or pan. The mixture thickens rapidly as it cools, so work efficiently, especially for smaller molds.
- Set Gummies: Let the filled molds sit at room temperature until fully set, at least 2 hours or ideally overnight. The gummies should be completely firm throughout before unmolding.
- Unmold and Coat: Remove gummies from the molds. If using a single pan, turn out the slab and cut into bite-sized pieces or stamp out shapes with a cutter. Roll each piece in additional granulated sugar until fully coated.
- Store: Store the finished gummies uncovered at cool room temperature for up to 1 week. For longer storage, layer candies with parchment and cover them in the refrigerator for up to 2 weeks, or freeze for up to 3 months.
Notes
- Do not reduce the sugar or use sugar substitutes; the recipe will not set properly without the specified amount of sugar and standard (HM) pectin.
- Be careful when working with hot candy mixtures to avoid burns.
- Coating gummies in granulated sugar helps prevent sticking.
- For best texture and flavor, let gummies set overnight before coating and serving.
Nutrition
- Serving Size: 1 gummy (approximately 3 mL)
- Calories: 15
- Sugar: 3g
- Sodium: 2mg
- Fat: 0g
- Saturated Fat: 0g
- Unsaturated Fat: 0g
- Trans Fat: 0g
- Carbohydrates: 4g
- Fiber: 0.1g
- Protein: 0g
- Cholesterol: 0mg

