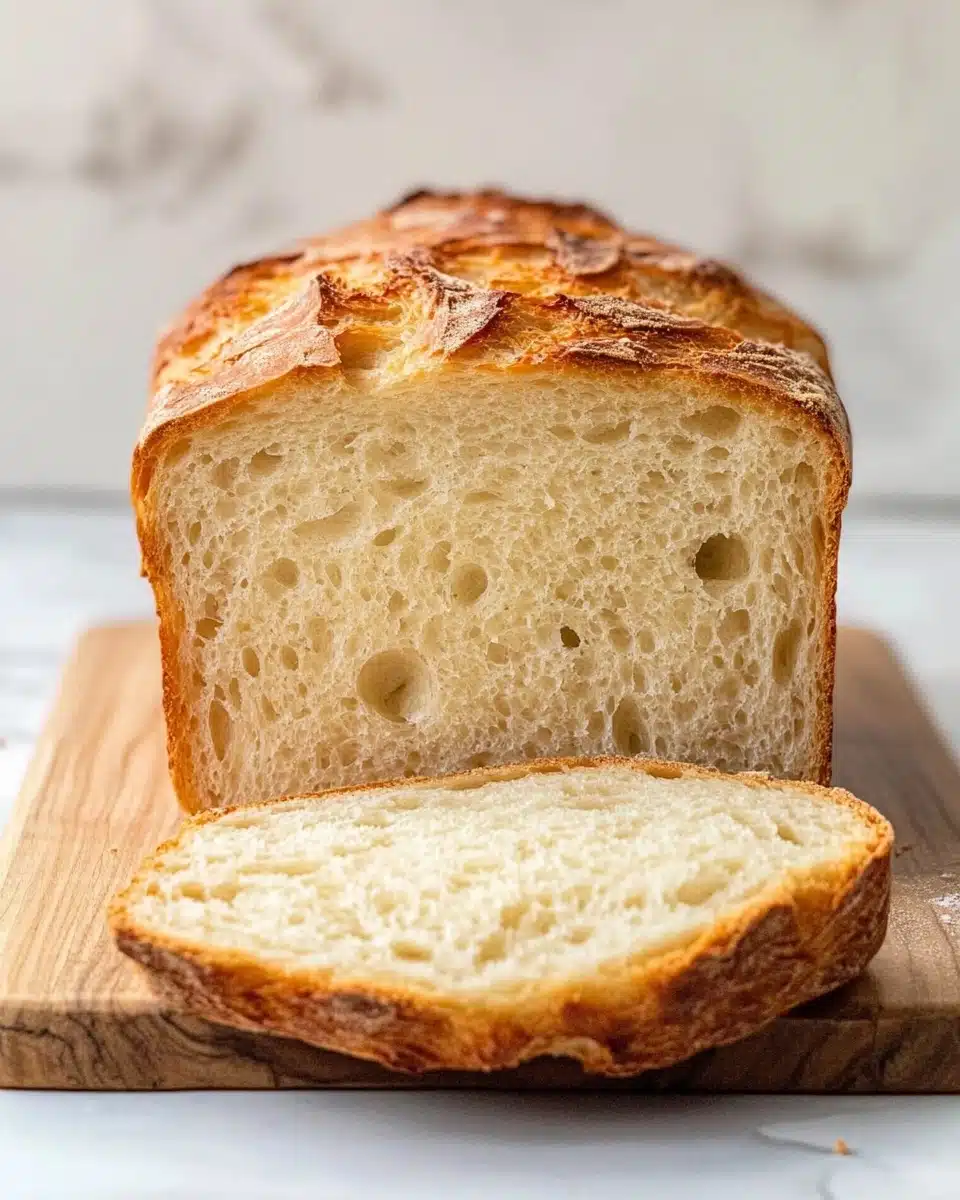
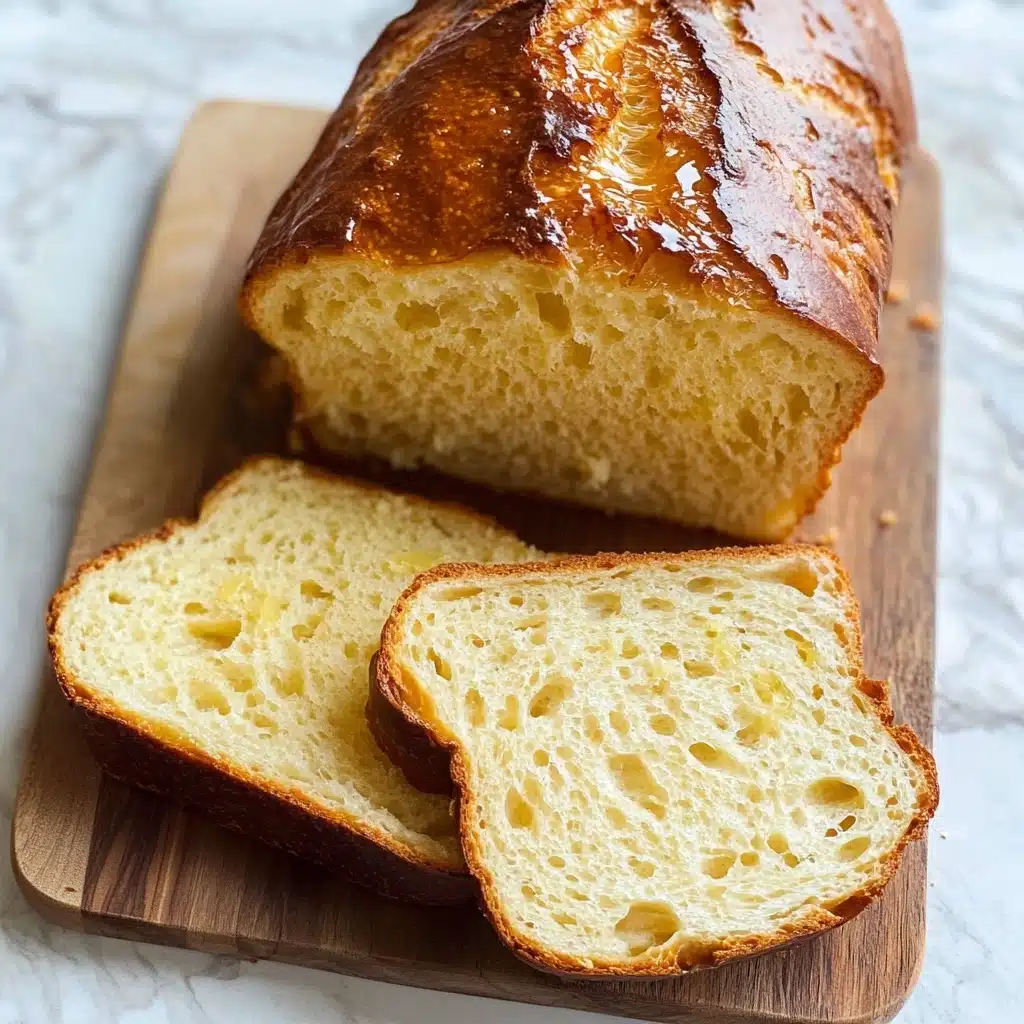
Let me introduce you to my not-so-secret kitchen hero: Greek Yogurt Bread! This delicious loaf is incredibly easy to make, supremely moist, and boasts a delicate tang that will have you sneaking slices straight from the cooling rack. Whether you’re after a wholesome breakfast, a snack-worthy treat, or an ultra-versatile sandwich base, this bread has you covered.
Why You’ll Love This Recipe
- Ridiculously Easy: Seriously—no kneading, no yeast, and barely any prep time. Greek Yogurt Bread delivers homemade goodness without any fuss.
- Moist & Tangy Texture: Thanks to creamy Greek yogurt, this bread stays soft for days and has a delicate tang that takes it beyond basic quick bread.
- Versatile for Any Meal: Enjoy a warm slice with butter at breakfast, make an epic sandwich, or pair it with soups and salads—the possibilities are endless!
- Naturally Wholesome: With just a handful of real ingredients, you get a hearty bread that feels nourishing and totally homemade.

Ingredients You’ll Need
This Greek Yogurt Bread uses simple, everyday ingredients, but each one plays an essential role! From the tender crumb to that subtle tang, don’t skip a thing—trust me, every element matters for the perfect loaf.
- All-purpose flour: The sturdy foundation of the bread. Choose unbleached for a heartier texture, or use your favorite blend for a twist.
- Baking powder: This is your rising star! It gives the bread incredible lift and a beautifully light texture—don’t forget to check that your baking powder is fresh.
- Salt: Just the right amount intensifies all the other flavors. Don’t skimp!
- Milk (any kind): Use your favorite—whole, low-fat, or even a plant-based option. It creates a moist, tender loaf and helps bind everything together.
- Greek yogurt (I used 2%): This is the magic ingredient for Greek Yogurt Bread, providing moistness, a gentle tang, and plenty of staying power so your bread tastes fresh for days.
Variations
One of the best things about Greek Yogurt Bread is how easy it is to play around with the recipe. Whether you want to switch up flavors or tailor it to your dietary needs, here are just a few of my favorite ideas to inspire you.
- Make it whole grain: Swap half of the all-purpose flour for whole wheat to create a slightly denser, nuttier loaf.
- Dairy-free option: Use your favorite plant-based yogurt and non-dairy milk for a completely dairy-free Greek Yogurt Bread that’s still remarkably moist.
- Add savory mix-ins: Fold in chopped fresh herbs, shredded cheddar, or a pinch of garlic powder for a flavorful twist—fantastic for sandwiches or soups.
- Turn it sweet: Gently fold in a handful of mini chocolate chips, dried fruit, or a sprinkle of cinnamon and sugar before baking for a breakfast treat kids will love!
How to Make Greek Yogurt Bread
Step 1: Prep Your Pan and Oven
Begin by preheating your oven to 375°F (190°C) and lining a 9×5-inch loaf pan with parchment paper. The parchment will make it so much easier to lift out your finished Greek Yogurt Bread—no sticking, no mess, just a perfectly shaped loaf every time!
Step 2: Mix Dry Ingredients
In a large bowl, whisk together the flour, baking powder, and salt. To give your bread the lightest possible crumb, sift the mixture through a fine-mesh sieve into another large bowl. Sifting might seem fussy, but it makes a world of difference in the finished texture!
Step 3: Add Wet Ingredients and Combine
Pour in the milk and the Greek yogurt. With a sturdy spatula, mix gently just until the dough comes together. It should be thick, slightly sticky, and spreadable—don’t be tempted to over-mix, as that can make the loaf tough instead of tender.
Step 4: Transfer and Bake
Spoon the thick dough into your loaf pan and smooth the top with your spatula, making sure it’s leveled out. Pop it into your preheated oven and bake for 60 minutes. If you notice the bread browning a little too quickly, loosely cover it with foil or parchment paper for the last 15–20 minutes of baking.
Step 5: Cool and Slice
Once a toothpick inserted in the center comes out clean (a few moist crumbs are okay!), remove the bread from the oven. Let it cool in the pan for about 5 minutes, then carefully lift it onto a wire rack to finish cooling completely—this waiting time is what helps the loaf slice perfectly. Use a serrated knife for smooth, even slices.
Pro Tips for Making Greek Yogurt Bread
- Choose the Right Greek Yogurt: A 2% or full-fat Greek yogurt will make your bread extra tender and give it that signature creamy tang—avoid nonfat for best results.
- Don’t Overmix! Mixing just until everything is combined (a few lumps are okay) keeps your bread soft—overdoing it develops gluten, which can make it dense.
- Pan Lining Matters: Lining your loaf pan with parchment paper not only prevents sticking but also helps lift the bread out easily for perfect slices every time.
- Allow for Full Cooling: It’s incredibly tempting, but let your Greek Yogurt Bread cool almost completely before slicing—it helps the crumb set and slices stay neat.
How to Serve Greek Yogurt Bread
Garnishes
A slab of salted butter is classic, but try a drizzle of honey, a swipe of cream cheese, or a few fresh herbs sprinkled right on top. If you’re feeling fancy, a spoonful of your favorite jam or even a scattering of flaky sea salt can take this Greek Yogurt Bread to the next level.
Side Dishes
This bread is deliciously versatile. Pair it with a steaming bowl of tomato soup for lunch, set out toasted slices as the ultimate accompaniment to a crisp salad, or use it as a base for rustic open-faced sandwiches—endless options to fit your mood and the season!
Creative Ways to Present
Try slicing Greek Yogurt Bread into small cubes for a crowd-pleasing appetizer platter, toasting thick slices for an epic crostini, or using it as a base for sweet and savory brunch spreads. Why not stack it up with grilled veggies, smoked salmon, or whipped ricotta for a show-stopping brunch centerpiece?
Make Ahead and Storage
Storing Leftovers
Once your Greek Yogurt Bread has cooled completely, wrap it in a linen towel and keep it in a cool, dry place for up to 2 days. After that, transfer it into an airtight container to keep it extra fresh for a couple more days—you’ll be amazed how well it holds its moisture!
Freezing
This loaf is perfect for freezing. Allow the bread to cool fully, then place it in a large freezer bag, squeeze out as much air as possible, and freeze for up to 3 months. When you’re ready, thaw it right on the counter for a few hours or overnight—the crumb stays soft and delicious.
Reheating
To revive that fresh-from-the-oven feeling, reheat slices of Greek Yogurt Bread in a toaster, toaster oven, or even briefly in a skillet. A warm slice is unbeatable with a little butter or your favorite spread—the comforting aroma will make it hard to stop at just one!
FAQs
-
Can I use non-dairy yogurt and milk in Greek Yogurt Bread?
Absolutely! Substitute a thick, unsweetened non-dairy yogurt and your favorite plant-based milk. The crumb will be slightly different, but your Greek Yogurt Bread will still be moist and flavorful—just be sure your yogurt isn’t too runny for best results.
-
Why is my bread dense or gummy in the center?
This usually happens if the dough is overmixed or if the bread hasn’t baked long enough. Make sure to mix only until just combined, and always check for doneness with a toothpick—every oven is a little different. Letting it cool fully before slicing also helps the texture.
-
Is it possible to add nuts, seeds, or dried fruit?
Yes! Gently fold in up to 1/2 cup of add-ins like chopped pecans, sunflower seeds, or dried cranberries after mixing the dough. This lets you personalize your Greek Yogurt Bread for breakfast, snack time, or special occasions.
-
Can I make Greek Yogurt Bread ahead of time?
Greek Yogurt Bread is perfect for baking ahead since it keeps its moisture wonderfully. Bake, cool, and store as directed—great for meal prep, busy weeks, or anytime you want to have fresh homemade bread on standby!
Final Thoughts
I hope this recipe brings as much joy to your table as it does to mine. Greek Yogurt Bread is simple, satisfying, and guaranteed to impress with every slice. Don’t be surprised if it quickly becomes a staple in your own kitchen rotation—happy baking!
Print
Greek Yogurt Bread Recipe
- Prep Time: 5 minutes
- Cook Time: 1 hour
- Total Time: 2 hours 5 minutes
- Yield: 10 slices
- Category: Bread
- Method: Baking
- Cuisine: Greek
- Diet: Vegetarian
Description
This Greek Yogurt Bread recipe produces a moist and tender loaf with a slight tang from the Greek yogurt. It’s easy to make and perfect for breakfast or a snack.
Ingredients
Dry Ingredients:
- 3 cups all-purpose flour
- 1 1/2 tablespoons baking powder
- 1 1/4 teaspoons salt
Wet Ingredients:
- 1 1/2 cups milk, any type
- 1 cup Greek yogurt (2%)
Instructions
- Preheat the Oven: Preheat the oven to 375°F and line a 9×5 loaf pan with parchment paper.
- Mix Dry Ingredients: In a large bowl, combine the flour, baking powder, and salt. Sift the mixture through a fine mesh sieve into another large bowl.
- Add Wet Ingredients: Stir in the milk and Greek yogurt gently until just combined. The dough should be thick and sticky but spreadable.
- Bake: Transfer the dough to the loaf pan, level it with a spatula, and bake for about 60 minutes until a toothpick inserted in the center comes out clean.
- Cool and Serve: Let the bread cool in the pan for 5 minutes, then transfer to a wire rack to cool completely. Slice and enjoy with your favorite toppings or as a sandwich.
Notes
- Store in a cool, dry place wrapped in a linen towel for up to 2 days, then transfer to an airtight container for an additional 2 days.
- Freeze baked and cooled bread in a Ziploc bag for up to 3 months. Thaw at room temperature for 3 hours or overnight.
Nutrition
- Serving Size: 1 slice
- Calories: 180
- Sugar: 2g
- Sodium: 320mg
- Fat: 2g
- Saturated Fat: 1g
- Unsaturated Fat: 1g
- Trans Fat: 0g
- Carbohydrates: 34g
- Fiber: 1g
- Protein: 7g
- Cholesterol: 5mg


