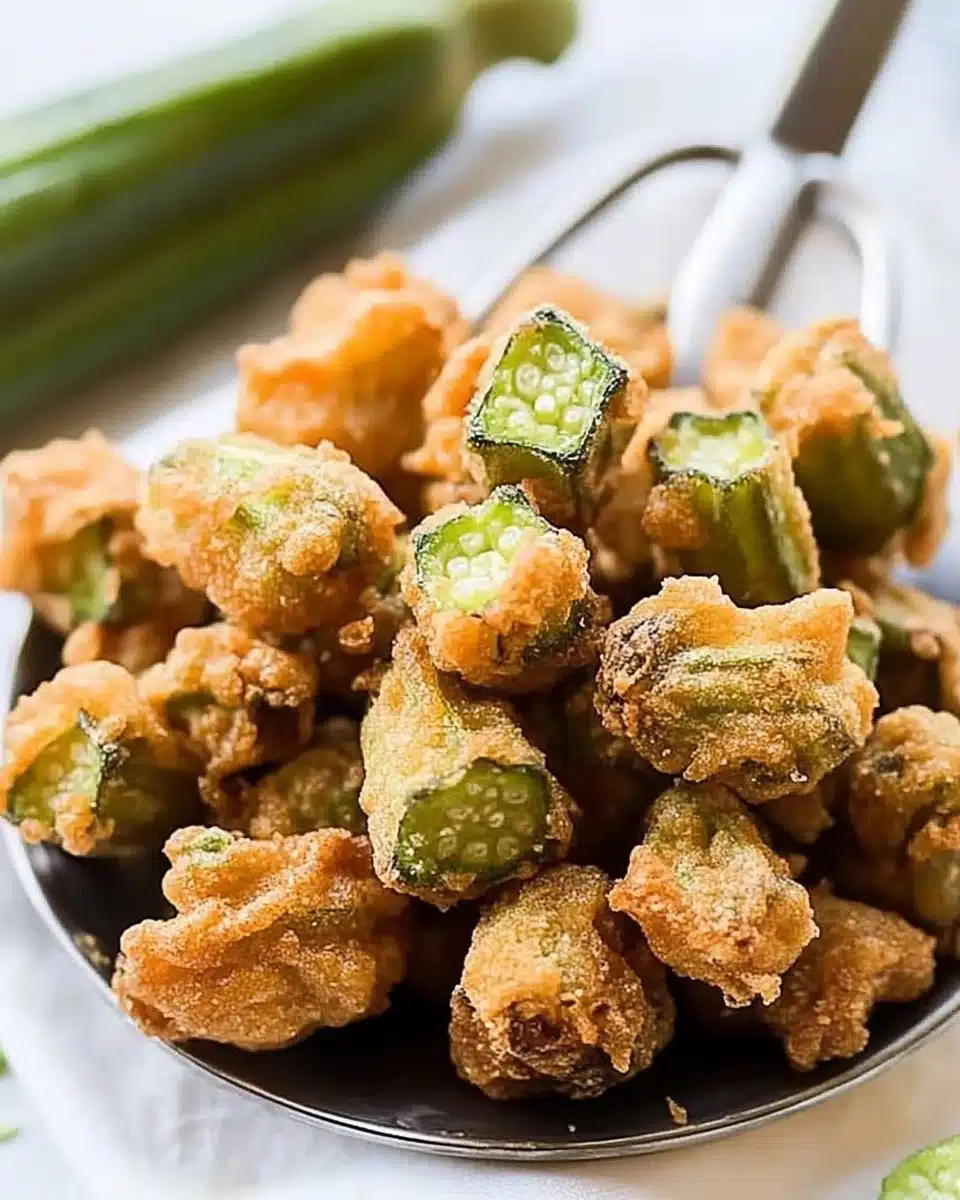
If there’s one dish that spells Southern comfort like nothing else, it’s Fried Okra. These golden-brown, crispy bites are the perfect marriage of tender okra inside and a satisfyingly crunchy coating, making them an irresistible snack, side, or appetizer. Trust me—once you try homemade fried okra, you’ll never go back to the frozen kind!
Why You’ll Love This Recipe
- Crispy, Crunchy Goodness: Every bite bursts with a golden, satisfying crunch that tastes like pure comfort.
- Easy & Family-Friendly: This Fried Okra recipe uses simple, everyday ingredients and comes together faster than you might think, making it perfect for busy nights or casual gatherings.
- Versatile Snacking or Siding: Serve it as a snack, appetizer, or side—it fits in absolutely anywhere on your table!
- Absolutely Addictive Flavor: That irresistible mix of tender, fresh okra and seasoned coating will win over even the skeptics (and kids love it too!).
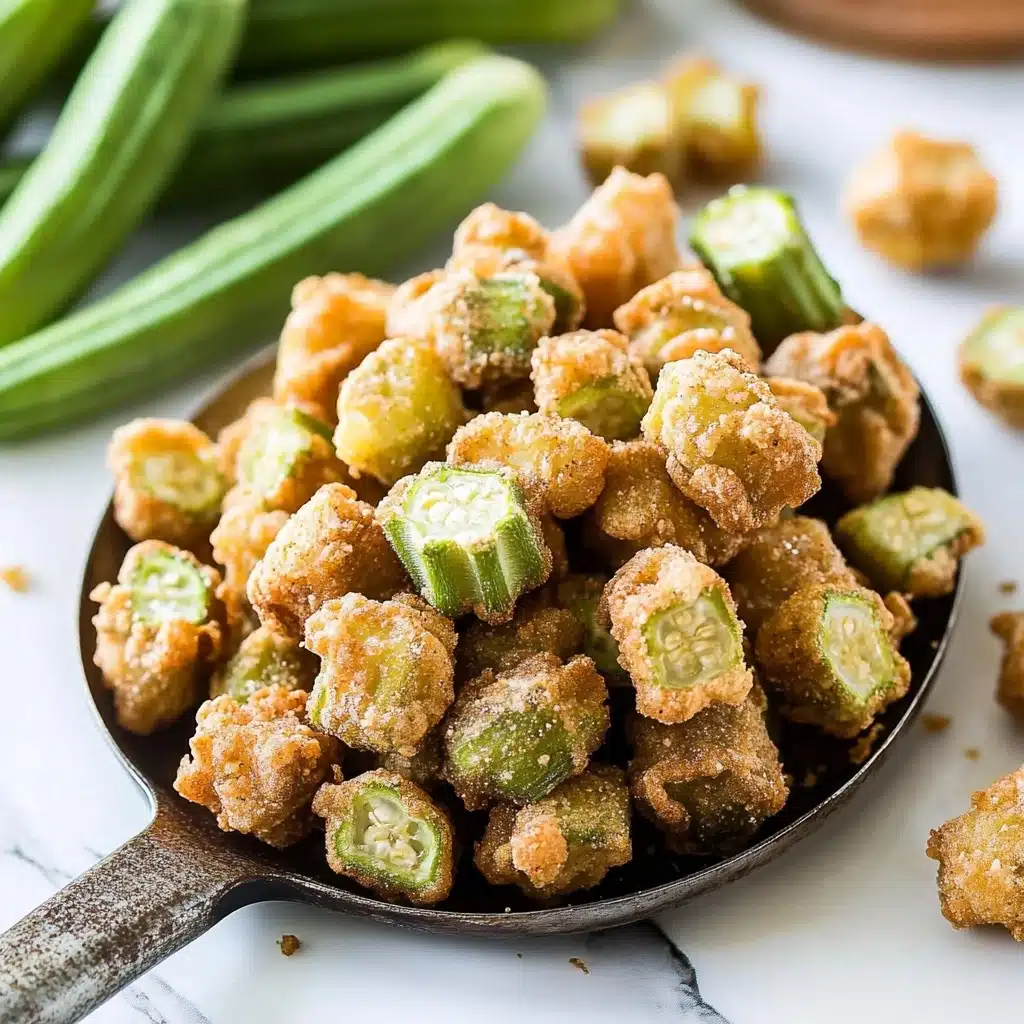
Ingredients You’ll Need
You might be surprised just how few ingredients stand between you and a plateful of classic fried okra! Each one plays a crucial role, from creating the ultimate crispy exterior to enhancing the okra’s fresh, summery taste and color.
- Fresh Okra: The star of the show—trimmed and sliced, it fries up tender and ever-so-slightly sweet.
- Flour: All-purpose flour gives you that irresistible, classic crispy crust everyone loves.
- Salt: Essential for seasoning, both in the coating and to finish right after frying.
- Black Pepper: Adds just the right touch of mild heat and depth to the batter.
- Egg: Helps the flour coating stick perfectly to each piece of okra for maximum crunch.
- Milk: Blended with the egg, it ensures the coating goes on evenly and lightly.
- Vegetable Oil: Use a neutral oil like canola or peanut for deep-frying to golden perfection—don’t skimp on the oil for that signature crispy finish!
Variations
Fried okra is so delightfully forgiving, you can truly make it your own. Whether you’re catering to dietary needs, using what’s in your pantry, or just craving a twist, there are all sorts of ways to riff on this classic!
- Cornmeal Crunch: Swap in half cornmeal for the flour to add a deeper Southern-style crunch and a hint of rustic flavor.
- Gluten-Free Goodness: Use a gluten-free flour blend in place of regular flour—the results are just as crispy and golden!
- Spicy Kick: Add a pinch of cayenne pepper or smoked paprika to the flour for a bold flavor boost.
- Oven-Baked Option: Brush battered okra lightly with oil and bake at a high temp if you want to skip the deep-frying (still crispy and delicious!).
How to Make Fried Okra
Step 1: Prep the Okra
Start by washing your fresh okra pods, trimming off the stems, and slicing them into coin-sized rounds. Laying your okra out to dry a bit before coating helps the batter stick better and prevents extra splatter in the hot oil.
Step 2: Set Up Your Breading Station
In a pie plate or a sturdy paper bag, stir together the flour, salt, and pepper. In a separate small bowl, whisk together the egg and milk until nice and smooth. This two-station setup makes it a breeze to coat the okra evenly and quickly.
Step 3: Coat the Okra
Work in batches so the pieces don’t stick together. Dip the okra in the egg mixture and coat well, then transfer a handful at a time into the flour mixture. Give them a good shake or gentle toss until every piece is covered and ready for frying.
Step 4: Fry Until Golden
Pour about 1 inch of oil into a large cast iron skillet or Dutch oven, and bring the oil up to 375°F. Fry the okra in a single layer—you want each piece to have plenty of space. Watch for golden-brown bottoms, then flip carefully with a spoon until both sides are beautifully crisp.
Step 5: Drain and Season
As each batch of fried okra turns a perfect deep gold, transfer it to a plate lined with paper towels. While the pieces are still piping hot, sprinkle with a little extra salt to seal in the flavor—and resist snacking on them all before serving!
Pro Tips for Making Fried Okra
- Freshness Matters Most: Choose plump, bright green okra pods for the sweetest flavor and best texture—avoid any that feel dry or rubbery.
- Dry Okra = Crispier Fry: After rinsing and slicing, pat the okra very dry with a clean towel to help the coating adhere and minimize oil splatter.
- Maintain Oil Temperature: Keep your oil close to 375°F—a deep-fry thermometer makes this easy—so the okra crisps up without getting greasy or soggy.
- Small Batch Cooking: Always fry the okra in single, uncrowded layers so each piece cooks evenly and turns perfectly golden.
How to Serve Fried Okra
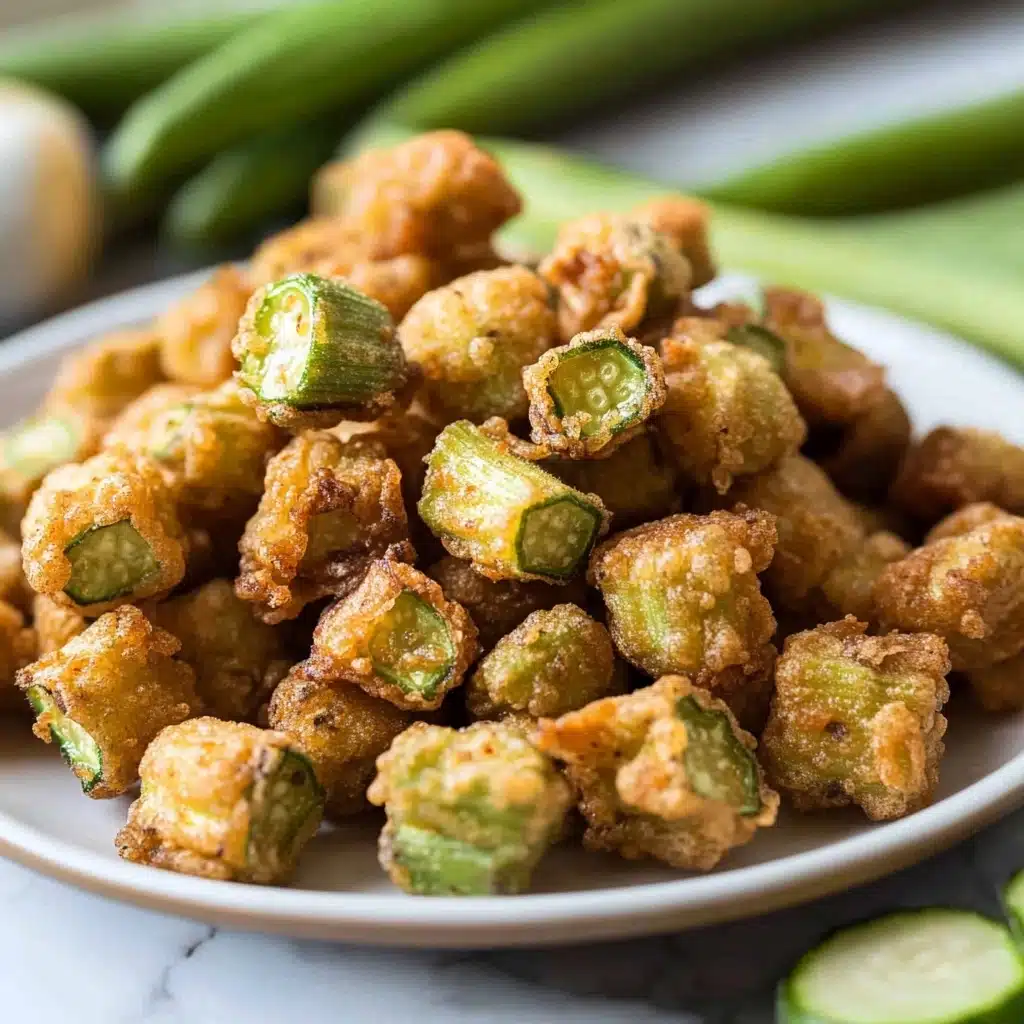
Garnishes
There’s nothing wrong with simplicity—just a sprinkle of flaky sea salt while the fried okra is still hot does wonders. For a little southern flair, toss with a pinch of Cajun seasoning or scatter over some chopped fresh parsley or chives to brighten things up.
Side Dishes
Fried okra shines alongside classics like barbecue chicken, catfish, pulled pork, or juicy burgers. For a true comfort feast, pair with creamy coleslaw, macaroni and cheese, sweet cornbread, or a scoop of buttery mashed potatoes.
Creative Ways to Present
Serve your fried okra piled high on a rustic platter with lemon wedges for zest, or offer them in small paper cones for a fun party snack. You can even thread them onto mini skewers as an unexpected (and adorable) appetizer at your next summer get-together!
Make Ahead and Storage
Storing Leftovers
If you somehow have leftover fried okra (and that’s a big if!), let it cool completely, then place it in an airtight container in the fridge for up to two days. Lining the bottom with a paper towel helps keep them a little crispier.
Freezing
You can freeze fried okra! Lay the cooled pieces in a single layer on a baking sheet and freeze until solid, then move them to a freezer-safe bag. That way, you can grab a handful whenever a craving strikes—no need to thaw first if you’re planning to reheat in the oven.
Reheating
To bring back that irresistible crunch, spread the okra on a baking sheet and heat in a 400°F oven for 10–12 minutes. Avoid the microwave if you can—it softens the coating and takes away that signature fried okra crisp.
FAQs
-
How do you keep fried okra from getting slimy?
The best trick is to dry the okra thoroughly after washing and before coating. The flour batter also helps prevent sliminess by sealing in moisture so you end up with perfectly crisp pieces every time.
-
Can I make fried okra in an air fryer?
Absolutely! Coat the okra as you normally would, lightly spritz with oil, and air fry in a single layer at 400°F for about 10–12 minutes, shaking halfway through. The results are still crispy and satisfying!
-
What’s the best oil for frying okra?
Any neutral, high-heat oil like vegetable, peanut, or canola oil works beautifully for fried okra. Avoid olive oil or butter, which can burn at frying temperatures and affect the flavor.
-
Can I use frozen okra for this recipe?
Yes, you can! Just thaw and pat it dry very well before coating and frying. Keep in mind it might release a touch more moisture than fresh, but you’ll still get a wonderfully crispy result.
Final Thoughts
There’s just something about a basket of homemade fried okra that feels like a warm invitation to slow down and savor. Don’t be surprised if this crunchy, golden delight disappears fast once you set it out—so go ahead, give it a try, and let a little Southern sunshine onto your table!
Print
Fried Okra Recipe
- Prep Time: 20 minutes
- Cook Time: 15 minutes
- Total Time: 35 minutes
- Yield: 6 servings
- Category: Appetizer/Side Dish
- Method: Frying
- Cuisine: Southern
- Diet: Vegetarian
Description
Learn how to make delicious Southern Fried Okra at home with this easy recipe. Crispy and flavorful, this classic dish is perfect as a side or snack.
Ingredients
Main Ingredients:
- 1 to 1 1/2 pounds okra, caps cut off and sliced
Batter:
- 1 cup flour
- 1/2 teaspoon salt
- 1/4 teaspoon pepper
- 1 egg
- 1/4 cup milk
Instructions
- Mix Dry Ingredients: In a pie plate or paper lunch bag, combine flour, salt, and pepper.
- Prepare Egg Wash: Whisk together egg and milk in a small bowl.
- Coat Okra: Dip okra slices in the egg mixture, then coat with the flour mixture.
- Fry Okra: Heat vegetable oil in a skillet, fry the okra in batches until golden brown on both sides.
- Drain and Serve: Remove fried okra to a paper towel-lined plate, sprinkle with salt, and serve warm.
Notes
- Make sure the oil is hot enough before frying to ensure a crispy texture.
- Season the okra immediately after frying for the best flavor.
Nutrition
- Serving Size: 1 serving
- Calories: 220
- Sugar: 2g
- Sodium: 350mg
- Fat: 12g
- Saturated Fat: 1.5g
- Unsaturated Fat: 9g
- Trans Fat: 0g
- Carbohydrates: 25g
- Fiber: 4g
- Protein: 5g
- Cholesterol: 35mg

