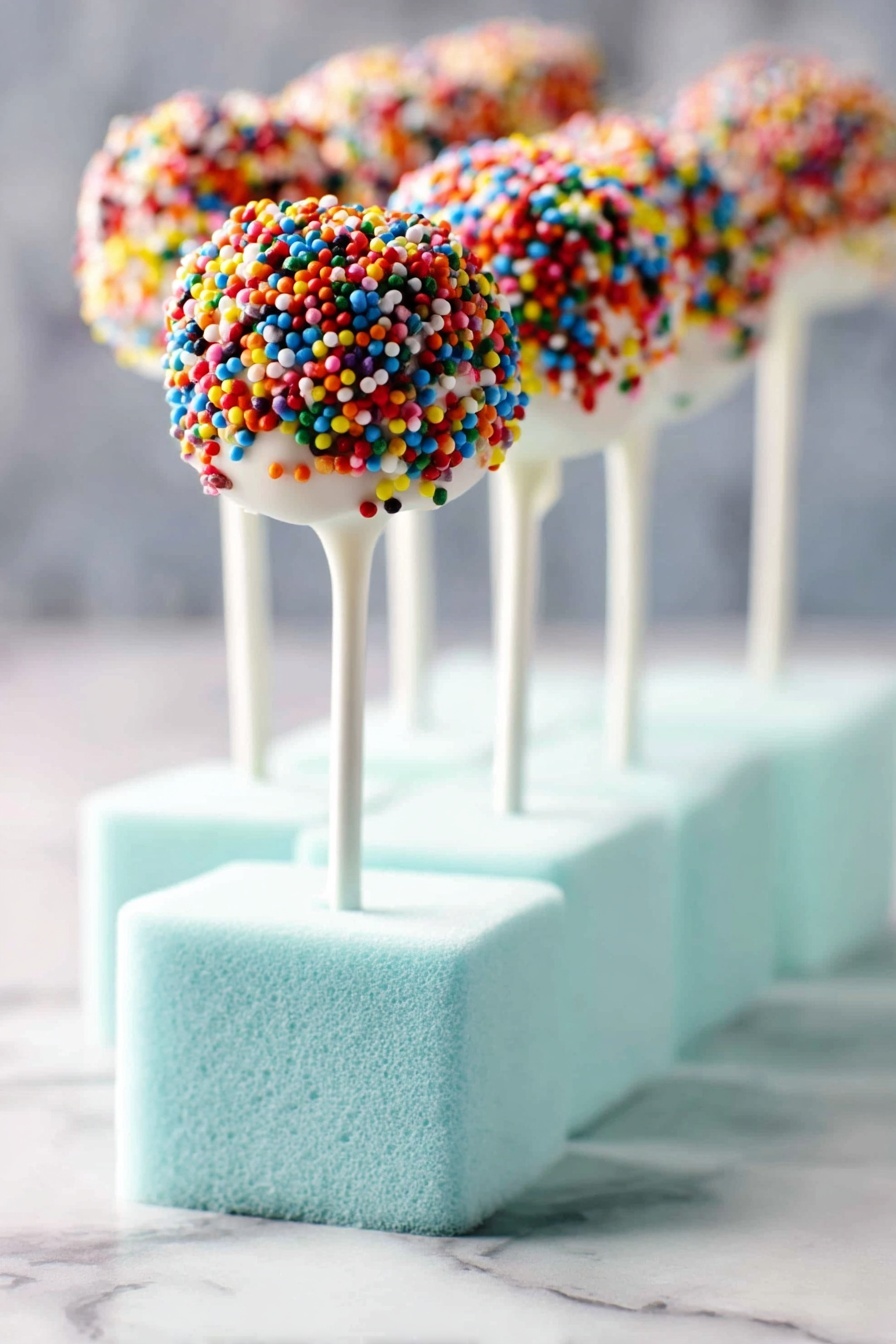
If you’re on the hunt for a simple, fun, and utterly delicious treat, I’ve got just the thing for you — my Chocolate Marshmallow Pops Recipe is an absolute fan-freaking-tastic dessert that’s perfect for any occasion. Whether you’re making it with the kids, prepping for a party, or just craving something sweet and easy, these marshmallow pops will quickly become your new go-to indulgence. Plus, I’ll share all my tips and tricks so you can nail it easily the first time around.
Why You’ll Love This Recipe
- Super Easy to Make: You only need a few ingredients and minimal prep—perfect for last-minute desserts.
- Customizable Fun: You can choose your favorite chocolate and toppings, so they’re always fresh and personal.
- Kid-Approved: My family goes crazy for these, and it’s such a great activity to get the little ones involved.
- Perfect Party Treats: These marshmallow pops look adorable and always get compliments at gatherings.

Ingredients You’ll Need
Every ingredient in this Chocolate Marshmallow Pops Recipe has a role in creating that perfect sweet bite — soft marshmallow, smooth chocolate, and the crunch or color from your favorite sprinkles. When shopping, pick good-quality candy melts and fresh marshmallows for the best results.
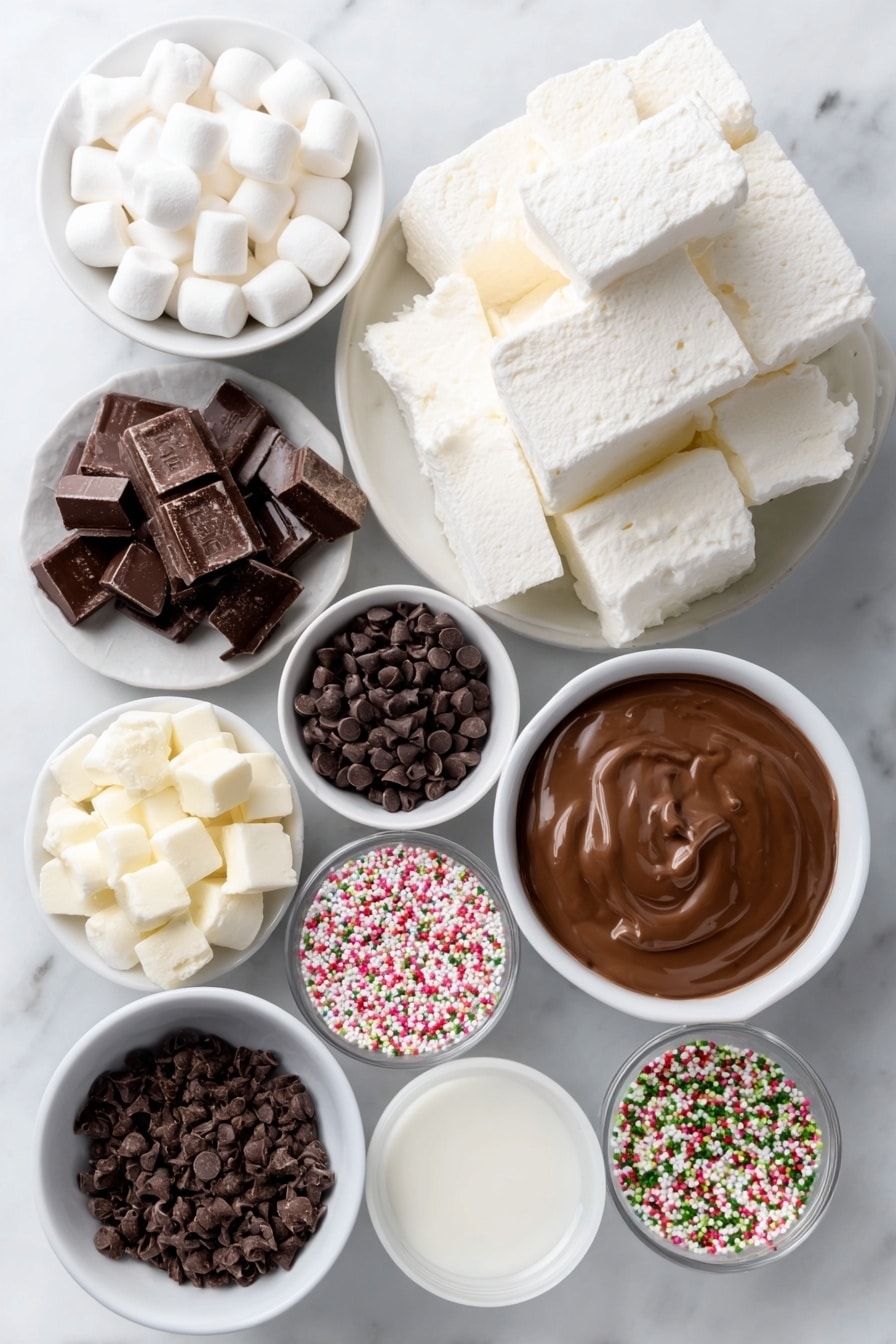
- Large Marshmallows: Store-bought work great, but homemade marshmallows add a soft, fresh flavor if you’re feeling ambitious.
- Chocolate Candy Melts: You can go milk, dark, or white chocolate—each gives a different vibe, so pick your favorite or mix it up!
- Lollipop Sticks: These sturdy sticks make handling the pops easy, especially for kids.
- Sprinkles or Decorative Toppings: Choose sprinkles, crushed nuts, mini chocolate chips, or even edible glitter for fun flair and texture.
Variations
One thing I absolutely love about this Chocolate Marshmallow Pops Recipe is how flexible it is. I often tweak the toppings to keep things interesting or adjust chocolate types depending on mood or season. You can make it your own, and I hope you do!
- Peanut Butter Drizzle: I once drizzled some melted peanut butter on top for a rich twist. My friends couldn’t get enough of it.
- Holiday Themes: During Christmas, I swap sprinkles for red and green sugar or crushed candy canes, and it instantly feels festive.
- Dairy-Free Variant: Using dairy-free chocolate melts makes this treat friendly for those with allergies, and it tastes just as dreamy.
- Mix of Chocolates: Try dipping some pops in dark and others in white chocolate for a pretty presentation spread at your next party.
How to Make Chocolate Marshmallow Pops Recipe
Step 1: Melt the Chocolate Gently
Start by placing your candy melts in a microwave-safe bowl. Heat them on 50% power for one minute and then stir well. This slow melting prevents the chocolate from burning or seizing—trust me, patience here pays off big time. Keep heating in 30-second intervals, stirring each time, until smooth and glossy. This part took me a couple of tries before I got the timing just right without overcooking.
Step 2: Prep the Marshmallows
While your chocolate is melting, grab your marshmallows and gently push a lollipop stick into the center of one flat side. It should sit snugly but not pierce through to the other side—this helps keep the pop sturdy. When I first tried this, a few went all the way through and got floppy, so keep an eye on that.
Step 3: Organize Your Toppings and Dip
Put your sprinkles or other toppings into small bowls—makes the decorating part less messy. Line a baking sheet with wax paper to place your pops on once dipped, or better yet, use a styrofoam block to stand them up while the chocolate sets. This trick stopped my marshmallow pops from getting all sticky and uneven the first time I made them.
Step 4: Dip and Decorate
Dip each marshmallow’s top into the melted chocolate, letting excess drip back into the bowl (I usually count to ten slowly). Then sprinkle your toppings over the chocolate before it sets. You’ll find that the chocolate firms up quickly, but the extra few seconds before sprinkling makes the toppings stick better without sliding off.
Step 5: Set and Enjoy
Place your pops into the styrofoam or on the lined sheet pan with sticks upright. Let them rest until the chocolate is fully set—about 30 minutes at room temperature does the trick. If you’re impatient (like me), tossing them into the fridge for 15 minutes speeds things up. Just beware, marshmallows can get a bit firm if chilled too long.
Pro Tips for Making Chocolate Marshmallow Pops Recipe
- Even Chocolate Melting: Stir your chocolate well between heating intervals to ensure a smooth texture and prevent overheating.
- Stick Placement Precision: Insert sticks slowly and just far enough to avoid piercing through; it keeps pops neat and easy to hold.
- Use Styrofoam Blocks: They’re a lifesaver for drying pops upright without smudging the chocolate coating.
- Timing on Sprinkles: Add toppings right before chocolate firms up completely to get the best adhesion without clumping.
How to Serve Chocolate Marshmallow Pops Recipe
Garnishes
I usually keep things simple with colorful sprinkles—rainbow or holiday-themed depending on the season—but crushed peppermint or toasted coconut offer a lovely flavor boost. Sometimes I even try edible glitter for a sparkly finish; it’s always a hit for birthday parties.
Side Dishes
These pops are sweet enough on their own, but I love pairing them with fresh fruit platters or a scoop of vanilla ice cream to balance the sugar. Hot cocoa or a simple glass of cold milk also makes them feel like a cozy treat.
Creative Ways to Present
For special occasions, I’ve arranged pops in a bouquet style using florist foam in a pretty vase, sprinkled with tissue paper “leaves.” Kids love picking their favorite colors, and it makes a beautiful centerpiece. Wrapping each in cellophane tied with ribbon also turns them into adorable party favors.
Make Ahead and Storage
Storing Leftovers
I store leftover pops in an airtight container at room temperature to keep them fresh and soft. If the weather is warm, you might want to refrigerate them, but remember marshmallows can firm up a bit when chilled.
Freezing
Freezing these isn’t my first choice because marshmallows can get a little chewy after thawing, but if you must, wrap them individually in plastic wrap before freezing in a sealed container. Thaw at room temperature slowly for best texture.
Reheating
If your pops have gotten a bit firm or the chocolate has dulled, a quick 5-10 second zap in the microwave on low power can soften them up. Just be careful not to overdo it or the marshmallow might start melting.
FAQs
-
Can I use regular chocolate instead of candy melts for this recipe?
Yes, you can use regular chocolate bars or chips, but candy melts are designed to melt smoothly and harden nicely for dipping. If you use regular chocolate, tempering or adding a little vegetable oil helps achieve a smooth, glossy coating.
-
What toppings work best on Chocolate Marshmallow Pops?
Sprinkles, crushed nuts, mini chocolate chips, coconut flakes, or edible glitter all work well. Choose toppings that will stick quickly since you’ll need to add them before the chocolate fully hardens.
-
How long do homemade marshmallow pops last?
When stored in an airtight container at room temperature, they stay fresh for about 3-4 days. Beyond that, marshmallows may start to dry out or become sticky.
-
Can I make these vegan or allergy-friendly?
Absolutely! Use vegan marshmallows and dairy-free chocolate melts. Just double-check your sprinkles and toppings to avoid any hidden animal products or allergens.
Final Thoughts
I absolutely love how this Chocolate Marshmallow Pops Recipe brings a little magic to the kitchen with minimal fuss. Whenever I make these, it feels like the whole family is right there with me — dipping, decorating, and enjoying a sweet moment together. It’s not just a recipe; it’s a simple way to create smiles and memories. So go ahead, grab those marshmallows and candy melts, and trust me, you’ll be amazed at how quickly these pops disappear. You’ve got this!
Print
Chocolate Marshmallow Pops Recipe
- Prep Time: 5 minutes
- Cook Time: 5 minutes
- Total Time: 40 minutes
- Yield: 20 pops
- Category: Dessert
- Method: No-Cook
- Cuisine: American
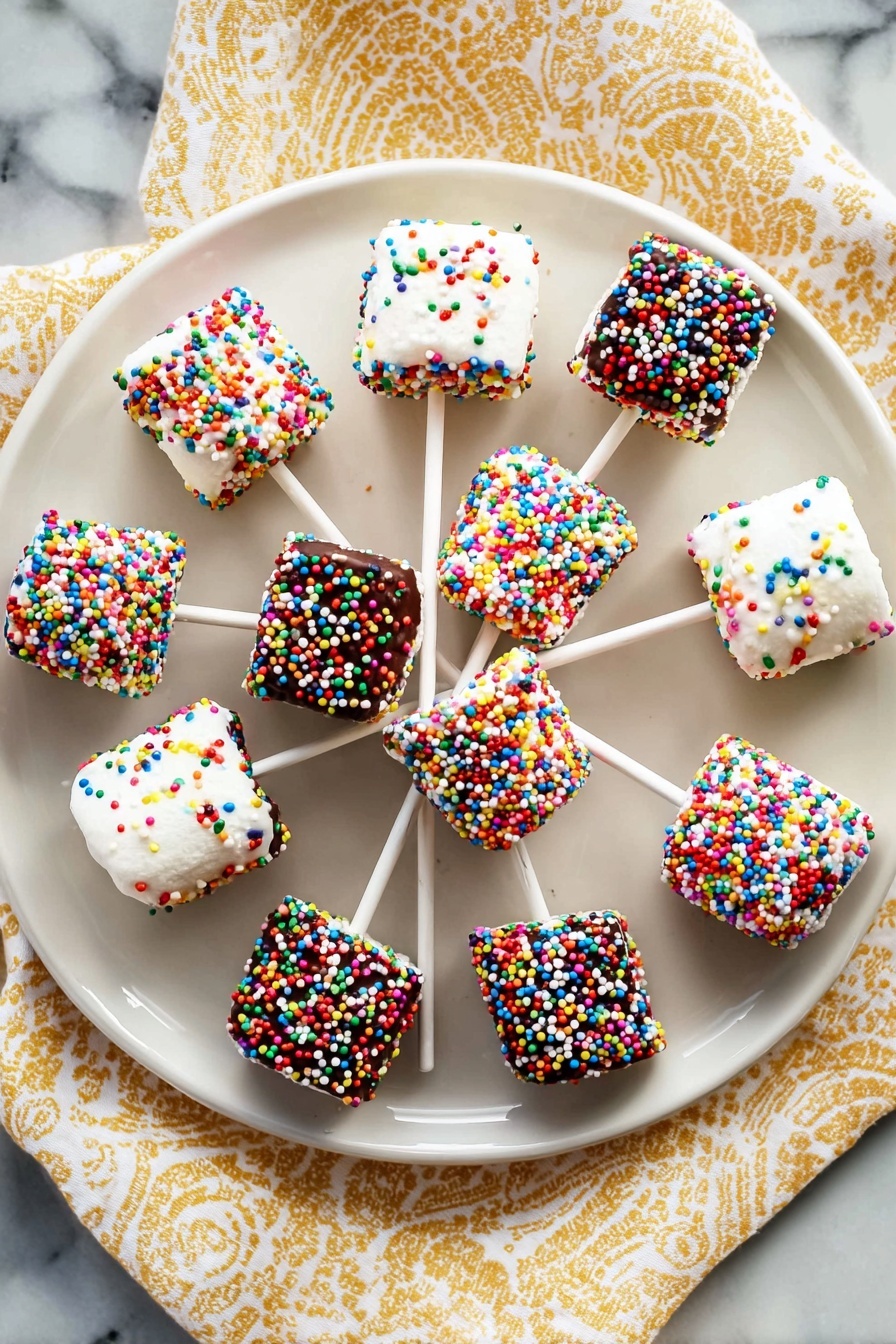
Description
Delightful and fun to make, these Chocolate-Covered Marshmallow Pops are perfect for a sweet treat that kids and adults alike will enjoy. Marshmallows are dipped in melted chocolate and then decorated with sprinkles or other toppings, making them an irresistible party or holiday snack.
Ingredients
Marshmallows
- 20 large marshmallows, store bought or homemade
Chocolate Coating
- 1 10-ounce bag chocolate candy melts (milk, white, or dark chocolate)
Additional
- Lollipop sticks
- Sprinkles or other decorative toppings of choice
Instructions
- Melt the Chocolate: Place the chocolate candy melts in a microwave-safe bowl and heat on 50% power for 1 minute. Stir well to ensure even melting. Continue heating at 50% power in 30-second intervals, stirring between each, until the chocolate is completely melted and smooth. Take care not to overheat, as this can cause the chocolate to seize and become unworkable.
- Prepare the Marshmallows: Insert a lollipop stick firmly into the center of one flat side of each marshmallow, ensuring it doesn’t pierce through the other side. This will allow you to hold the marshmallow securely while dipping.
- Set Up Decorations and Workspace: Arrange sprinkles and other toppings in small bowls nearby for easy access. Line a sheet pan with waxed paper or prepare a block of styrofoam or florist’s foam to hold the pops upright while the chocolate sets.
- Dip and Decorate: Dip the marshmallow tops into the melted chocolate, letting any excess drip back into the bowl. Wait about 10 seconds to allow the chocolate to slightly set, then sprinkle the toppings using your hands or a spoon to cover the chocolate coating evenly.
- Allow Chocolate to Set: Insert the finished pops into the styrofoam block or place them on the wax paper-lined sheet pan, stick side up. Allow them to sit at room temperature for about 30 minutes until the chocolate fully hardens.
Notes
- This activity is ideal for family fun and is a great way to involve kids in the kitchen.
- You can customize toppings based on preference—sprinkles, crushed nuts, or edible glitter all work well.
- Use different types of chocolate candy melts to create colorful and varied pops.
Nutrition
- Serving Size: 2 pops
- Calories: 27
- Sugar: 4.6 g
- Sodium: 6.4 mg
- Fat: 0.3 g
- Saturated Fat: 0.3 g
- Unsaturated Fat: 0 g
- Trans Fat: 0 g
- Carbohydrates: 6.3 g
- Fiber: 0 g
- Protein: 0.2 g
- Cholesterol: 0.1 mg
