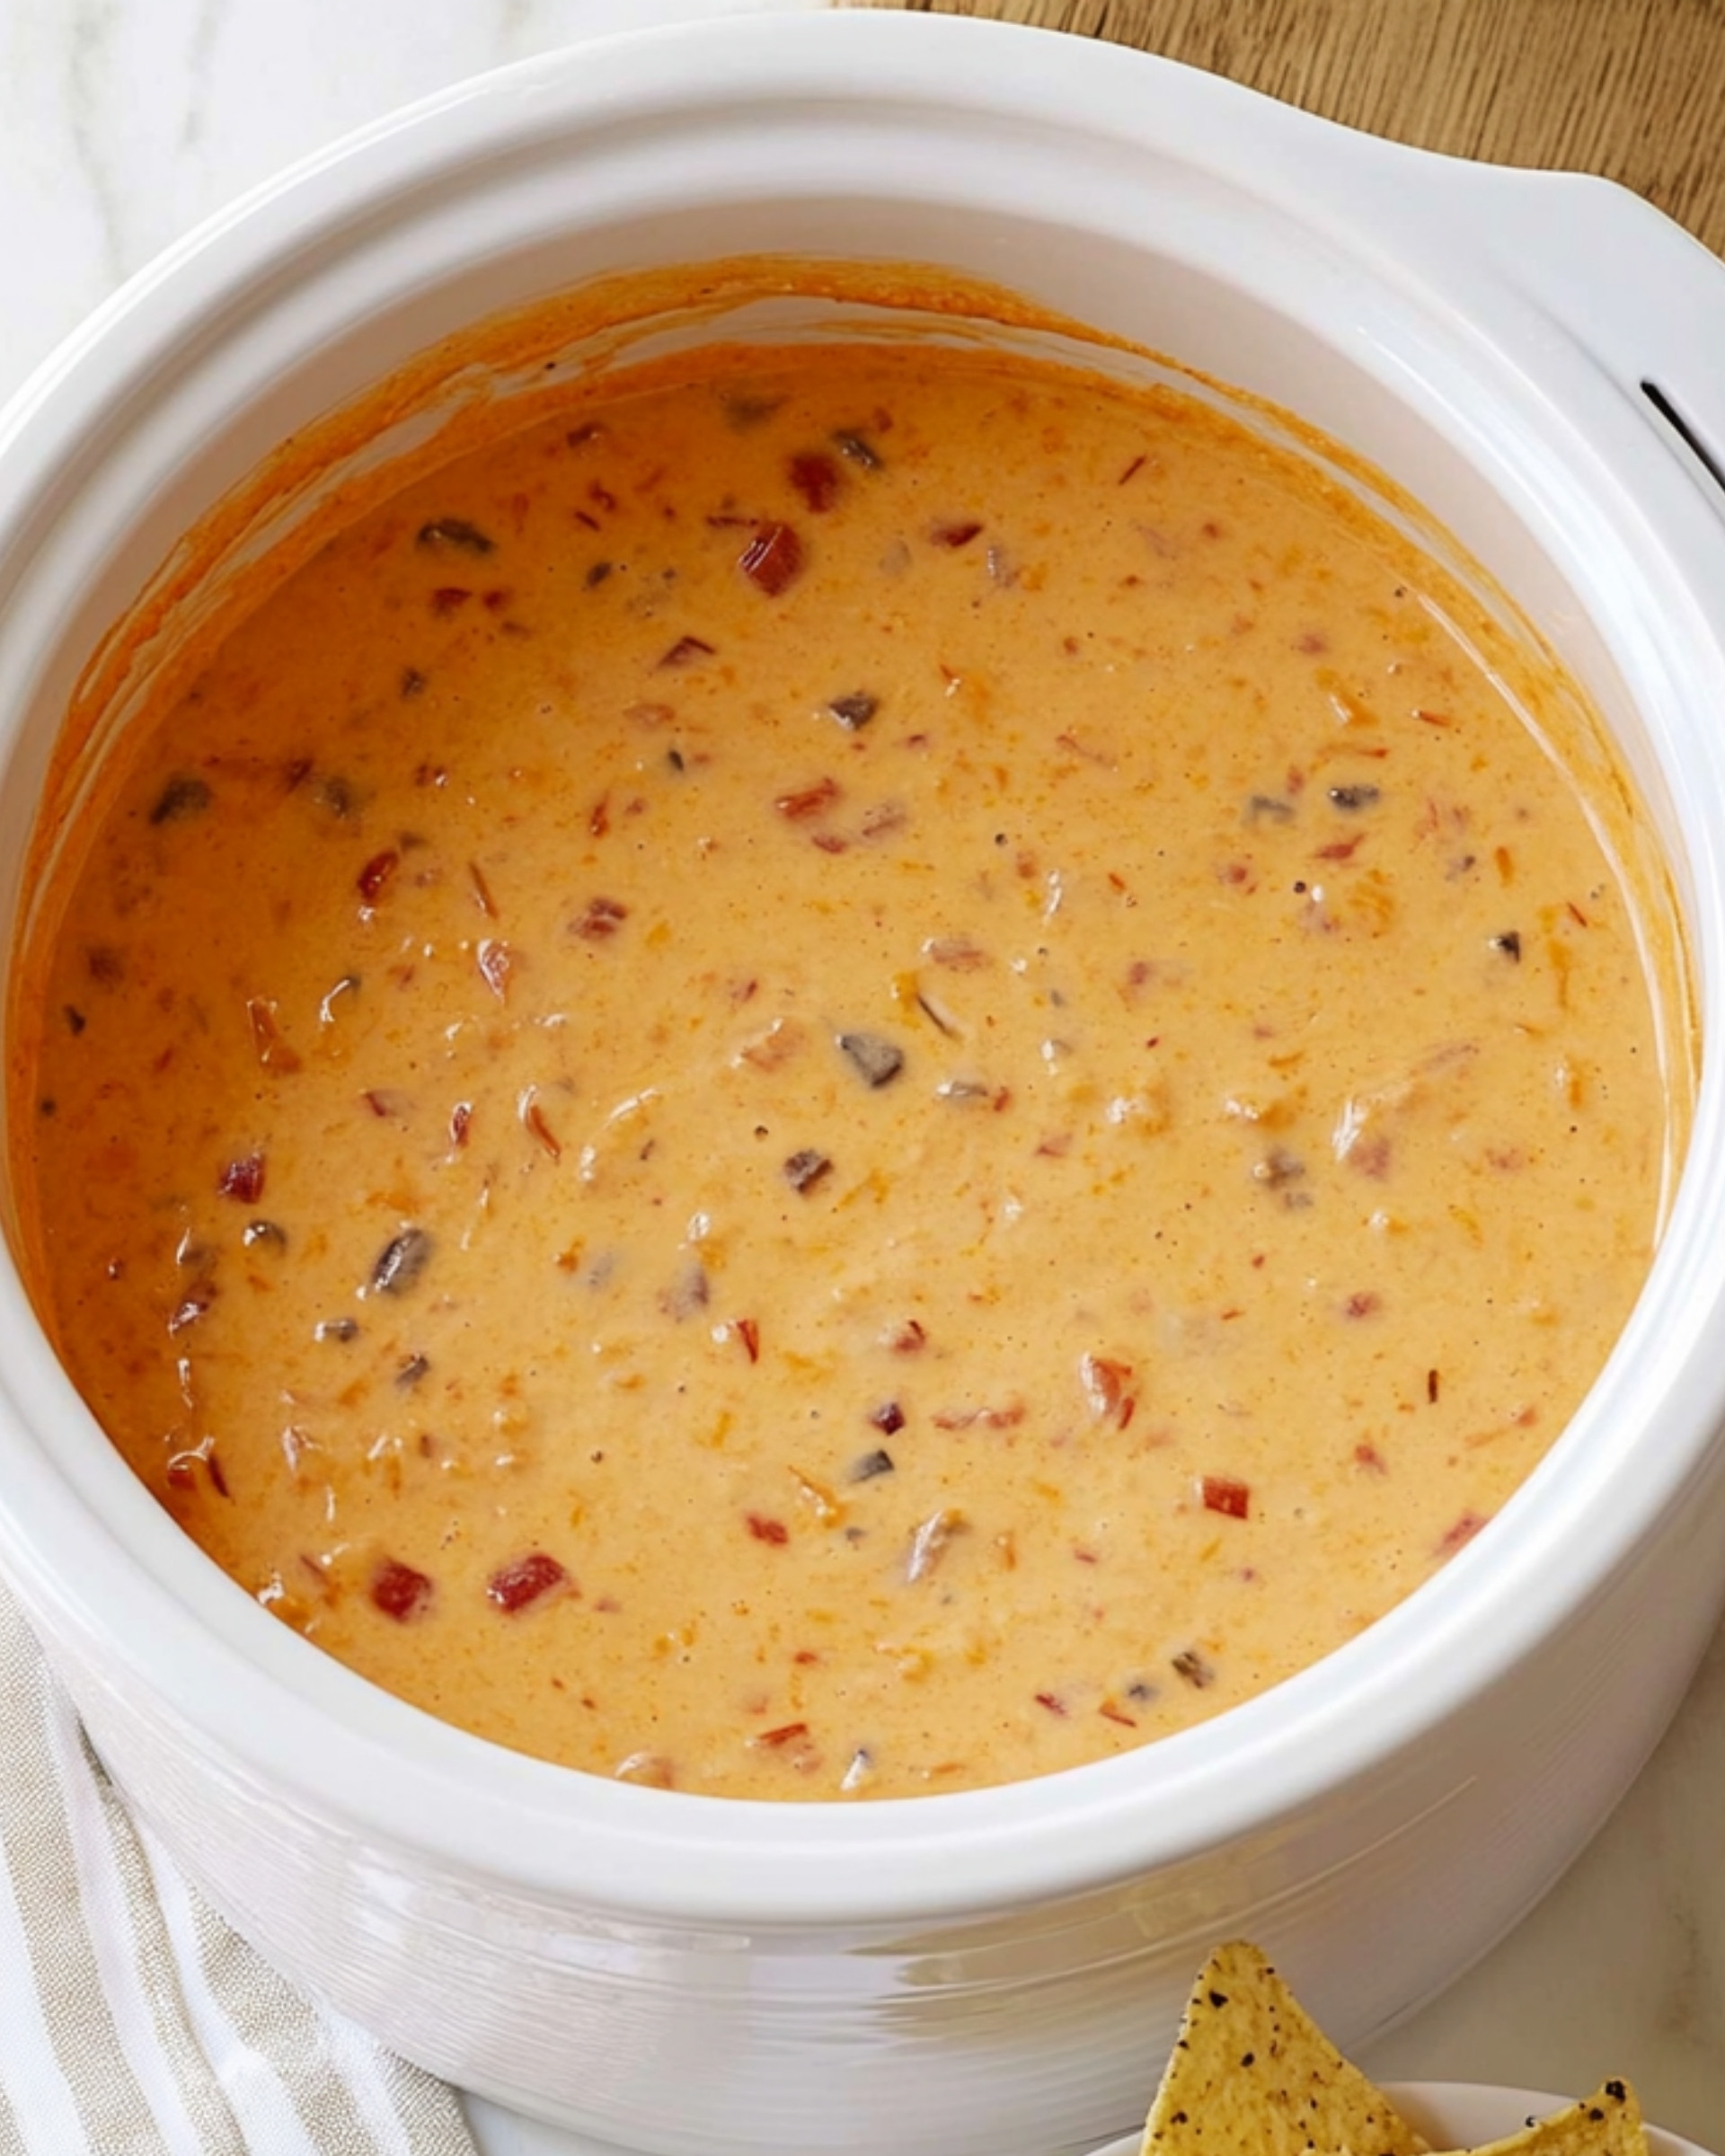
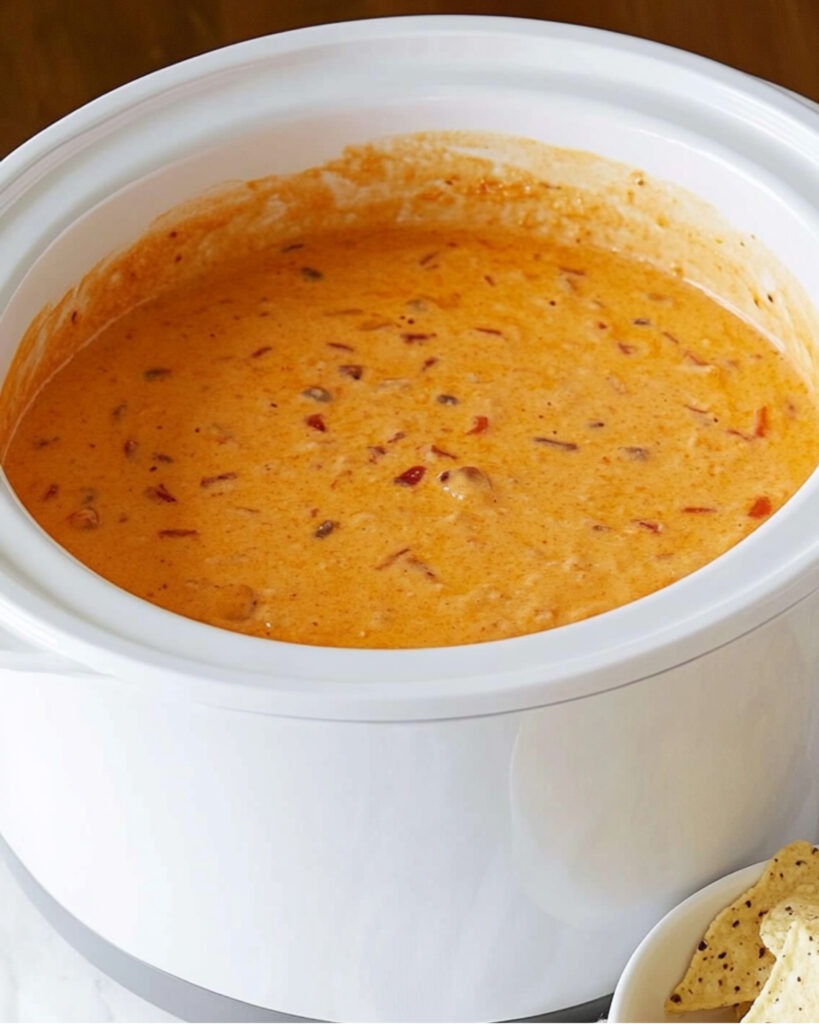
This incredible Chili Cheese Dip is the ultimate crowd-pleaser that comes together with just two ingredients and minimal effort. Rich, creamy, and packed with savory flavor, this dip strikes the perfect balance between hearty chili and gooey, melted cheese. Whether you’re hosting game day festivities or need a quick appetizer for unexpected guests, this dip delivers big flavor with practically no work!
Why You’ll Love This Recipe
- Ridiculously Easy: With just two ingredients and almost no prep work, this might be the simplest hot dip you’ll ever make.
- Crowd-Pleasing: Even picky eaters can’t resist the irresistible combination of hearty chili and creamy melted cheese.
- Versatile: Serve it with tortilla chips, corn chips, crackers, or even use it as a topping for baked potatoes or hot dogs.
- Set It and Forget It: The slow cooker does all the work while you focus on other dishes or simply relax with your guests.
Ingredients You’ll Need
- Canned Chili with Meat and Beans: The foundation of the dip, providing hearty texture and robust flavor. Choose your preferred spice level – mild, medium, or hot depending on your taste preferences.
- Processed Cheese: Velveeta or similar processed cheese creates that unmistakably smooth, creamy texture that makes this dip so addictive. It melts perfectly without separating and gives the dip its signature stretchy quality.
Note: You’ll find the complete list of ingredients, along with their exact measurements, in the printable recipe card at the bottom of this post.
Variations
Spicy Version
Kick things up by adding a can of diced green chilies, jalapeños, or a few dashes of hot sauce to the mixture before heating.
Loaded Chili Cheese Dip
After cooking, top with your favorite nacho fixings – diced tomatoes, sliced green onions, black olives, sour cream, or fresh cilantro.
Meat Lover’s Version
Brown some additional ground beef with taco seasoning and stir into the finished dip for extra heartiness.
Homestyle Version
Use homemade chili instead of canned for deeper flavor if you have leftovers on hand.
How to Make Chili Cheese Dip
Step 1: Prepare Your Ingredients
Cut your processed cheese into smaller cubes to help it melt faster and more evenly. Open the can of chili and give it a quick stir.
Step 2: Combine in Slow Cooker
Add both ingredients to your slow cooker. There’s no need to grease the pot since the cheese contains enough fat to prevent sticking.
Step 3: Cook Low and Slow
Set your slow cooker to low and let it work its magic for about an hour. The slow, gentle heat allows the flavors to meld while preventing the cheese from scorching.
Step 4: Stir and Serve
After an hour, give everything a good stir to incorporate the melted cheese throughout the chili completely. Keep the slow cooker on warm setting for serving.
Microwave Alternative
In a rush? Combine the ingredients in a microwave-safe bowl and heat on medium power for 3-5 minutes, stopping to stir every minute until completely melted and combined. Transfer to a small slow cooker to keep warm during serving.
Pro Tips for Making the Recipe
- Cut the Cheese Small: The smaller you cube the processed cheese, the faster and more evenly it will melt into the chili.
- Stir Occasionally: While not strictly necessary, giving the dip a stir every 20 minutes helps it melt more evenly.
- Control Thickness: If the dip seems too thick after melting, stir in a splash of milk to reach your desired consistency. If it’s too thin, let it cook with the lid off for a while to reduce.
- Prevent Skin Formation: Keep the dip covered when not actively serving to prevent a skin from forming on top.
How to Serve

Best Dippers
Sturdy tortilla chips are the classic choice, but this dip is equally delicious with corn chips, pretzel rods, cubed bread, or veggie sticks for a lighter option.
Party Presentation
Serve directly from the slow cooker set on warm to keep the dip at the perfect consistency throughout your gathering. Place dippers in a ring around the cooker for an attractive spread.
Make It a Meal
Turn this dip into a hearty topping for baked potatoes, hot dogs, burgers, or nachos for a quick and satisfying dinner option.
Make Ahead and Storage
Storing Leftovers
Transfer any remaining dip to an airtight container and refrigerate for up to 3 days. The dip will solidify when cold but will return to its creamy texture when reheated.
Freezing
While technically possible to freeze this dip, the texture may change slightly upon thawing. If you choose to freeze, store in a freezer-safe container for up to 1 month.
Reheating
Microwave refrigerated leftovers in 30-second intervals, stirring between each until the dip reaches your desired temperature and consistency. Alternatively, reheat in a small saucepan over low heat, stirring frequently to prevent scorching.
FAQs
-
Can I use turkey chili or vegetarian chili instead?
Absolutely! This recipe works beautifully with any type of chili you prefer. Turkey chili creates a lighter version, while vegetarian chili makes this a meat-free option everyone can enjoy. The dip’s character will change slightly with different varieties, but the creamy, satisfying result remains.
-
Why is processed cheese better than regular cheese for this dip?
Processed cheese like Velveeta contains sodium citrate, which gives it that incredibly smooth melting quality. Regular cheese can become stringy or separate when melted, while processed cheese maintains a perfectly creamy texture even when the dip sits at serving temperature for extended periods.
-
How can I make this dip healthier?
Try using a lighter version of processed cheese, vegetarian chili, and serving with fresh vegetables for dipping. You could also use a combination of processed cheese and shredded regular cheese to reduce the processed content while maintaining good texture.
-
My dip separated or looks oily – how do I fix it?
This usually happens when the dip is overheated. Lower the heat setting and whisk vigorously to reincorporate any separated oils. Adding a small splash of milk while whisking can also help restore the creamy texture.
Final Thoughts
This Chili Cheese Dip recipe proves that sometimes the simplest dishes deliver the most satisfying results. Perfect for last-minute gatherings or when you need a guaranteed crowd-pleaser, it combines comfort food flavors in a dip that disappears fast! Give it a try at your next gathering – your friends will think you spent hours in the kitchen when it only took you minutes of actual work.
Print
Chili Cheese Dip Recipe
- Prep Time: 5 minutes
- Cook Time: 1 hour
- Total Time: 1 hour 5 minutes
- Yield: 6 servings
- Category: Snacks
- Method: Slow Cooking
- Cuisine: American
- Diet: Gluten Free
Description
A quick and easy recipe for a creamy and flavorful chili cheese dip, perfect for parties or snacking.
Ingredients
Base Ingredients
- 1 can chili with meat and beans
- 1/2 block processed cheese (like Velvetta)
Instructions
- Combine ingredients: Add the can of chili with meat and beans and the processed cheese to a slow cooker.
- Cook in a slow cooker: Turn the slow cooker to low and let the mixture cook for 1 hour. Stir occasionally to ensure all the cheese melts and combines smoothly with the chili.
- Alternative method: If you’re in a hurry, transfer the chili and cheese to a microwave-safe bowl. Heat the mixture in the microwave, stopping and stirring often, until everything is melted and well combined. Then, pour it into a smaller slow cooker or warming dish to keep warm for serving.
Notes
- Serve the dip warm with tortilla chips, crackers, or vegetable sticks.
- For a spicier version, add some diced jalapeños or a sprinkle of chili powder.
- Leftovers can be stored in the refrigerator for up to 3 days and reheated before serving.
Nutrition
- Serving Size: 1 serving
- Calories: 150
- Sugar: 2g
- Sodium: 450mg
- Fat: 10g
- Saturated Fat: 5g
- Unsaturated Fat: 4g
- Trans Fat: 0g
- Carbohydrates: 10g
- Fiber: 2g
- Protein: 5g
- Cholesterol: 25mg

