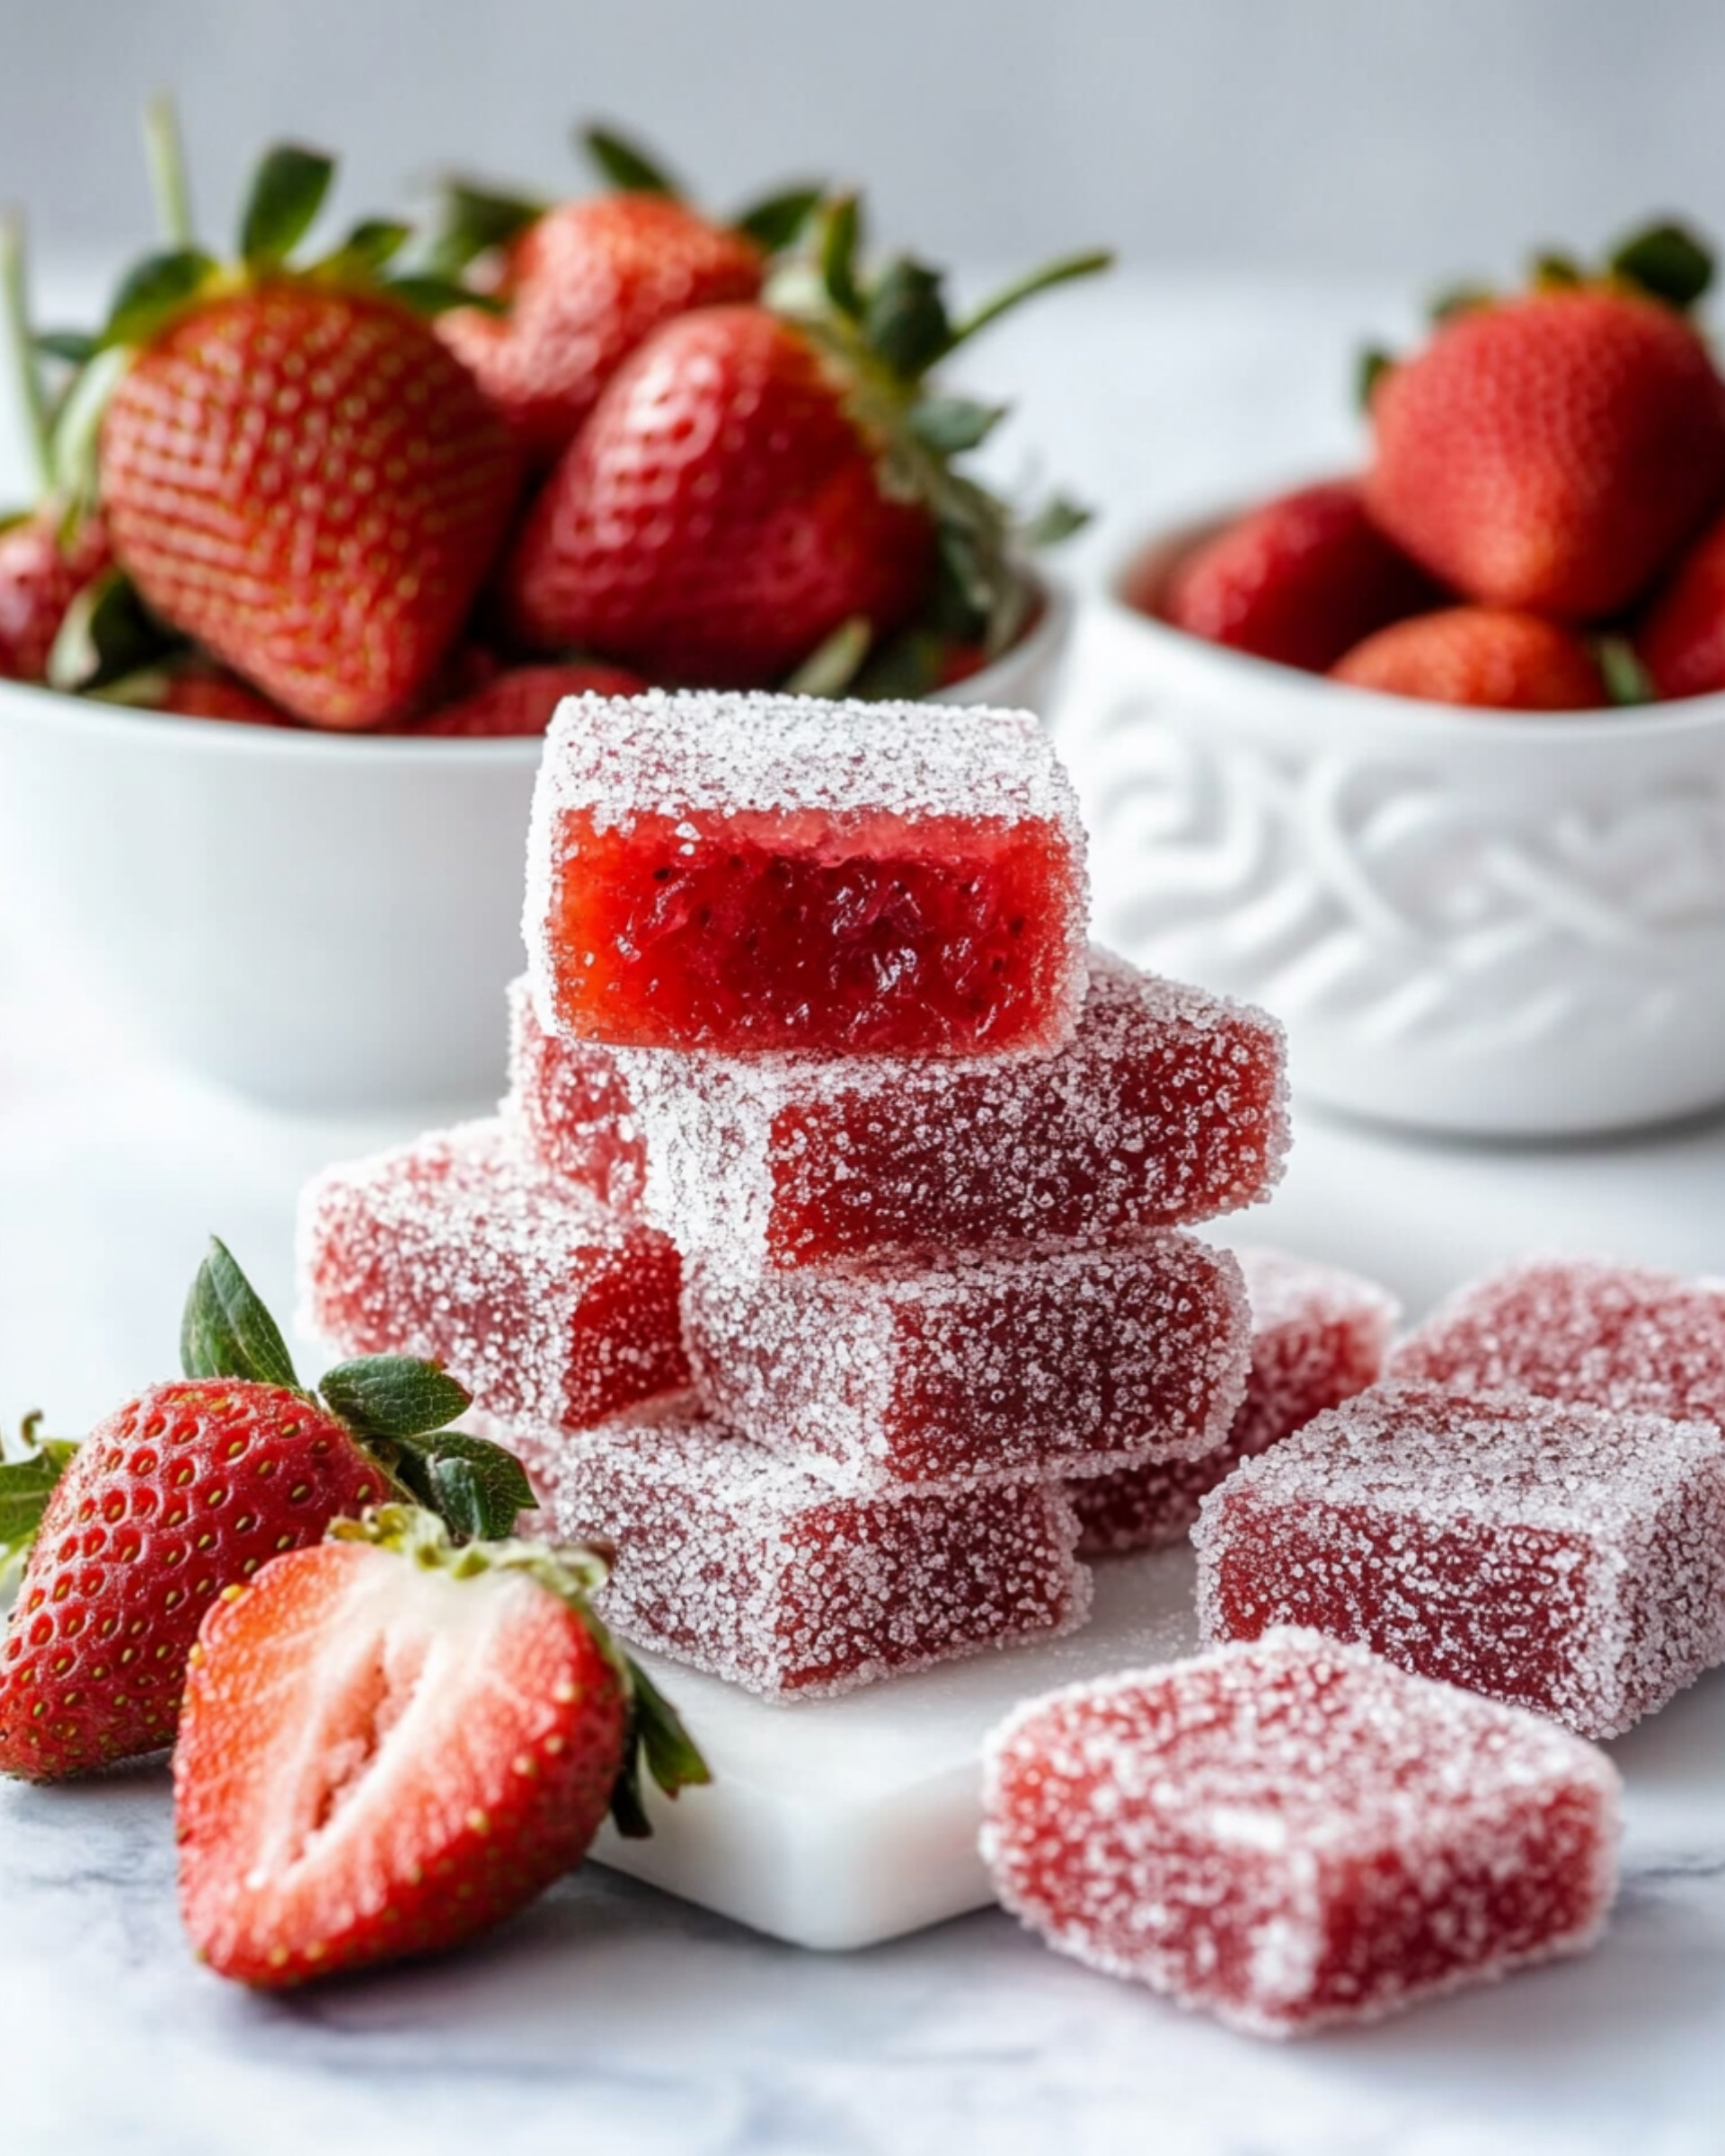
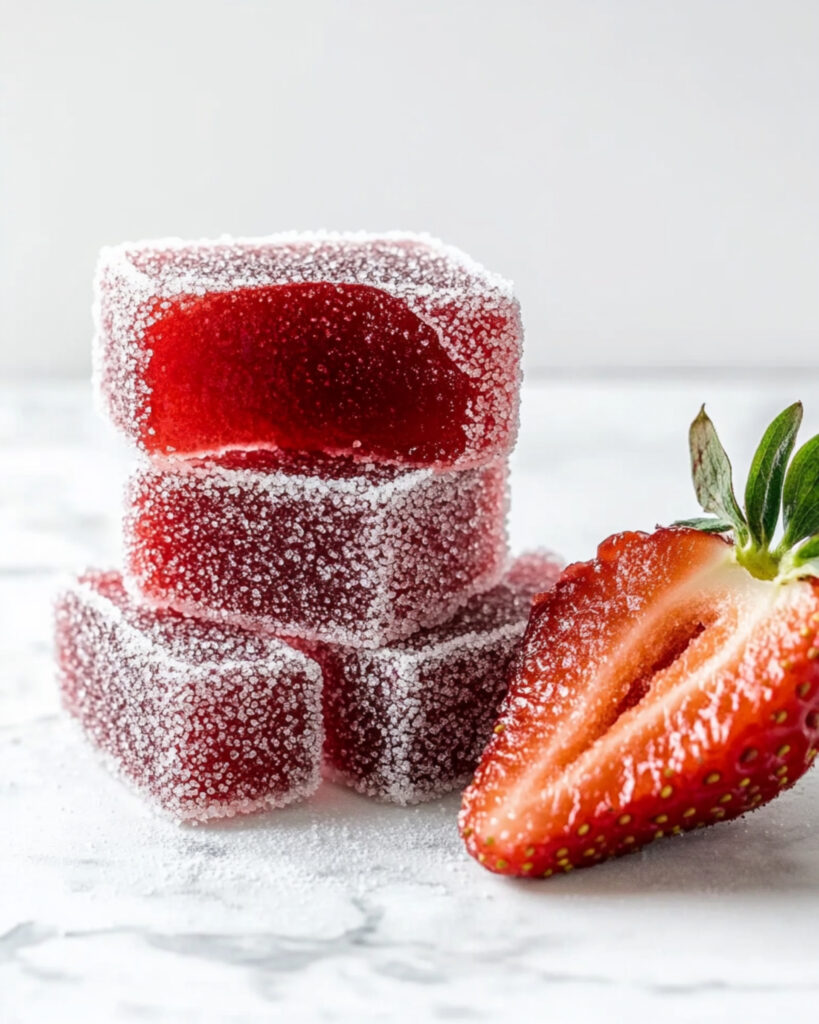
Get ready to fall in love with these Homemade Sour Strawberry Gummies! Imagine soft, tangy, intensely fruity bites that taste like summer itself—ready to brighten any busy day. This recipe lets you craft your own gummies right at home, and it only takes a handful of everyday ingredients. No specialty equipment required except a reliable saucepan and some silicone molds—or just a parchment-lined pan. In under an hour of hands-on time, you can whip up a whole batch that puts store-bought candies to shame. Whether for after-school snacks, party treats, or a sweet pop of nostalgia, these gummies are the perfect way to add homemade flair to your weeknight routine.
Why You’ll Love This Recipe
- Quick & Easy: Aside from cooling time, these gummies come together in under an hour with basic steps—no fancy skills needed.
- Unbeatable Flavor: Using real strawberries means honest-to-goodness fruitiness in every bite, plus a punchy sour zing.
- Homemade is Best: You control the ingredients and can tweak the flavor to suit your taste. Plus, it just feels great to make your own candy!
- Fun for All Ages: The process is as enjoyable as the results, and the gummies are endlessly customizable for parties, gifts, or just a treat-yourself moment.
Ingredients You’ll Need
Get to know your ingredients—each one has a special job in making these gummies perfect!
- Strawberries: Fresh or thawed frozen strawberries, pureed for full fruit flavor and gorgeous color. The riper, the tastier!
- Granulated Sugar: Powers the sweetness and texture—don’t reduce it or your gummies won’t set. This is absolutely non-negotiable for candy.
- Corn Syrup: Adds shine and keeps the gummies soft and chewy instead of gritty.
- Fruit Pectin: The magic behind that “gummy” set—Sure Jell in the yellow box works great. Avoid low sugar pectin, it will not work here!
- Baking Soda: Balances the pectin mixture and ensures a smooth consistency.
- Filtered Water: Used to bloom the pectin and dissolve the citric acid.
- Citric Acid or Lemon Juice: Brings that addictively tart, mouth-puckering sourness.
- Coating Sugar: A mix of sugar with a dash of citric acid makes the perfect tart-sweet finish.
Note: Never reduce the sugar or use sweetener alternatives—candy making is science, and this recipe depends on the right sugar ratio for both taste and texture!
Note: You’ll find the complete list of ingredients, along with their exact measurements, in the printable recipe card at the bottom of this post.
Variations
With a base this delicious, you’re only limited by your imagination. Try these variations:
- Different Fruits: Swap strawberries for raspberries, blackberries, or a mix—just keep the amounts the same!
- Tropical Vibes: Puree mango or pineapple for exotic gummies.
- Super Sour: Double the citric acid in the coating for extra zing.
- Fun Shapes: Use novelty silicone molds to make hearts, stars, or animal shapes—kids love these!
- Vegan Option: Most fruit pectins are vegan, but always check the label just in case.
How to Make Homemade Sour Strawberry Gummies
Prep Your Molds or Pan
Set up your silicone molds (or a parchment-lined pan if you like cutting to size later) on a stable, heat-safe surface. The mixture gets hot—don’t put it on sensitive countertops!
Make the Strawberry Base
In a heavy-bottom saucepan, combine strawberry puree, sugar, and corn syrup. Heat gently to a boil, stirring occasionally to make sure nothing sticks.
Prepare the Pectin Mixture
Meanwhile, in a small pot, combine pectin, baking soda, and water. Bring to a simmer; it’ll foam up (totally normal!). Once the foam subsides, pour this mixture into your strawberry pot.
Cook to the Right Temperature
Attach a candy thermometer and cook, stirring occasionally, until the mix hits 230°F—this usually takes about 45 minutes. Stir more often as it approaches temperature so nothing scorches.
Add the Sour Punch & Pour
Remove from heat, stir in your dissolved citric acid (or lemon juice) quickly and carefully—it may bubble and steam. Pour immediately into your prepared molds or pan.
Cool and Cut
Let your gummies cool to room temperature, ideally for 2 hours or overnight. Once set, unmold or cut into squares (or use cookie cutters for fun shapes!).
Sugar Coat Them
Mix your coating sugar and citric acid together. Roll each gummy until fully coated in zingy, sparkly sugar.
Pro Tips for Making the Recipe
- Use a reliable candy thermometer: temperature is everything—don’t guess!
- Move fast when pouring into molds: the mixture thickens quickly as it cools.
- Lightly oiling your mold can help with easy removal: especially for intricate shapes.
- For super clear gummies: strain your fruit puree before starting.
- Clean up sticky pans promptly with hot water: makes life MUCH easier.
How to Serve
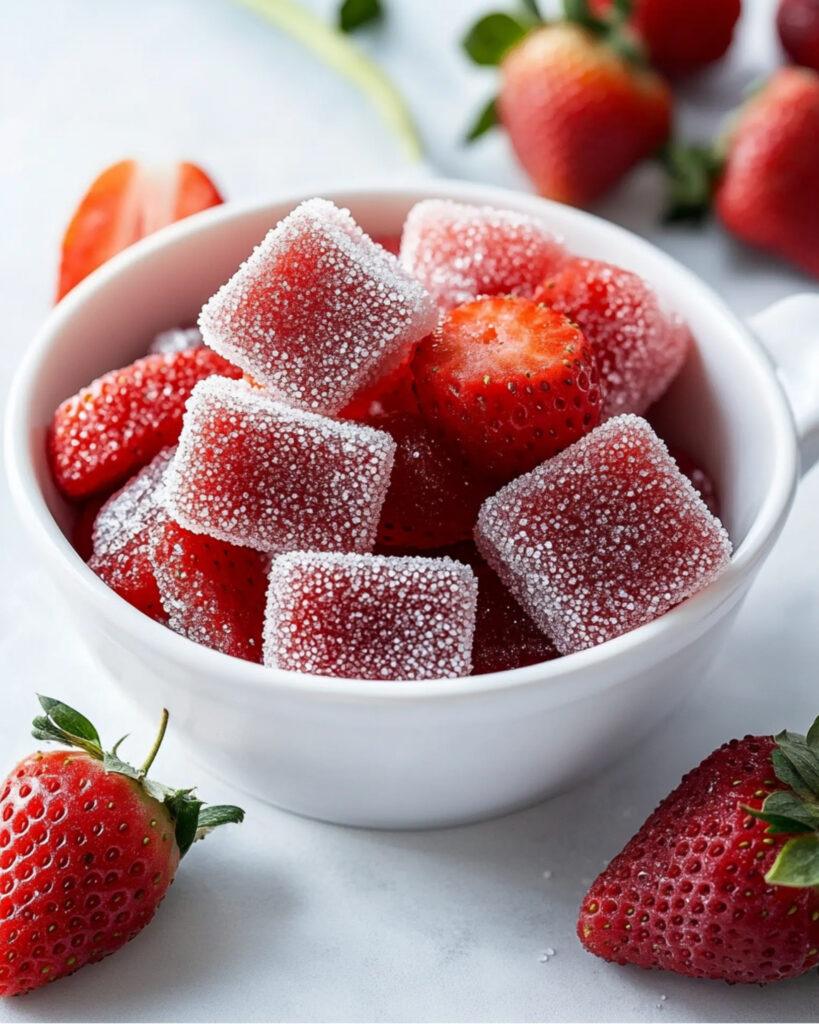
Homemade sour strawberry gummies are party-ready straight from the bowl, but they also shine as:
- Gift Bags: Box or bag them for holiday or birthday treats.
- Party Platters: Pair with other homemade sweets and fresh fruit slices.
- Dessert Garnish: Top ice cream, yogurt, or cupcakes for an extra special touch.
- After-School Snack: Fuel up with a few gummies and a glass of cold milk (or sparkling water).
Make Ahead and Storage
Storing Leftovers
Keep the gummies in an uncovered container at cool room temperature for up to 1 week. Want them to last longer? Store in the fridge—layered between parchment—for 2 weeks.
Freezing
Yes, these gummies freeze beautifully! Tuck them between parchment in a freezer-safe container and freeze up to 3 months.
Reheating
Not necessary! Just let chilled or frozen gummies come up to room temp before enjoying so they’re perfectly chewy.
FAQs
-
Can I use less sugar or a sugar substitute?
Stick with the full amount of regular granulated sugar—lowering it will ruin the texture and prevent the gummies from setting. Alternative sweeteners or low-sugar pectin aren’t suitable for this recipe.
-
Do I need to use a candy thermometer?
Absolutely! Reaching precisely 230°F is key to that chewy, bouncy gummy texture. Eyeballing isn’t reliable here.
-
Can I use gelatin instead of pectin?
For this particular shelf-stable, chewy candy, yes, you need the original pectin and technique as outlined. Gelatin makes a different, softer gummy (more like jello candies).
-
My gummies are sticky after coating—what did I do wrong?
This can happen if they’re undercooked or humidity’s high. Make sure they fully cool before rolling in sugar. If needed, let them air-dry on a rack for an hour before storing.
Final Thoughts
Homemade Sour Strawberry Gummies are pure magic: easy, quick, customizable, and bursting with real berry flavor. Whether you’re whipping up a batch for family, friends, or just to satisfy your sweet tooth, they’re bound to bring a burst of joy. So grab those strawberries, roll up your sleeves, and get ready to amaze yourself with how simple and delicious homemade candy can be!
Print
Homemade Sour Strawberry Gummies Recipe
- Prep Time: 15 minutes
- Cook Time: 45 minutes
- Total Time: 2 hours
- Yield: 45 candies
- Category: Desserts
- Method: Stovetop
- Cuisine: American
- Diet: Vegetarian
Description
Delightfully chewy and tangy, these homemade sour strawberry gummies burst with real fruit flavor and have a satisfyingly tart coating. Made with fresh or frozen strawberries, these candies are perfect for snacking and great for gifting. They’re easy to make at home and deliver the taste and texture of store-bought gummies, but with simple, recognizable ingredients.
Ingredients
Gummy Base
- 12 ounces (300 g) fresh or frozen (and thawed) strawberries, pureed
- 1 2/3 cup (330 g) granulated sugar (do not reduce)
- 2 tablespoons (44 g) corn syrup
- 1 box (48 g) regular fruit pectin (Sure Jell Original in the yellow box is recommended)
- 1/2 teaspoon baking soda
- 1/2 cup (120 g) filtered water
- 1/4 teaspoon powdered citric acid, dissolved in 1 tablespoon warm water (or 2 tablespoons lemon juice)
Sour Sugar Coating
- 1/4 cup (50 g) granulated sugar
- 1/2 teaspoon powdered citric acid
Instructions
- Prepare Molds: Set your silicone molds or a silicone cake pan (9×9 inch ideally) on a cookie sheet on a heat-proof surface. The candy mixture will be hot, so avoid materials like waxed paper or plastic wrap; you may use a regular baking pan lined with parchment paper if molds are unavailable.
- Combine Main Ingredients: In a medium (4-5 qt) heavy-bottomed saucepan, combine the strawberry puree, sugar, and corn syrup. Place over medium to medium-high heat and bring to a boil.
- Prepare Pectin Mixture: In a separate small saucepan, mix together pectin, baking soda, and water (it will foam). Simmer over medium-high heat, stirring occasionally until the foam subsides. Then add this to the boiling strawberry mixture.
- Cook to Proper Temperature: Attach a candy thermometer to the saucepan. Continue to cook mixture over medium to medium-high heat, stirring occasionally. Let the mixture cook until it reaches 230°F (about 45 minutes). As the temperature goes above 220°F, stir more frequently, scraping sides and bottom to prevent burning.
- Add Citric Acid: Once the candy mixture hits 230°F, remove from heat. Immediately stir in citric acid solution (watch for sputtering and steam). For easier pouring, transfer the mixture to a large spouted measuring cup.
- Mold and Cool the Gummies: Quickly pour the hot mixture into your prepared molds or pan. Work efficiently, as the mixture thickens as it cools. You should have about 400 mL (13.5 fl.oz) of candy mixture in total. Allow candy to cool completely at room temperature, undisturbed, for at least 2 hours or overnight.
- Mix Sour Sugar: In a bowl, whisk together the sugar and citric acid for the coating until well combined.
- Unmold and Coat: Remove the set candies from their molds. If using a pan, lift out the slab and cut into bite-sized pieces, or stamp out shapes using a cookie cutter. Roll each gummy in the prepared sour sugar mixture until fully coated.
- Store: Store gummies uncovered at cool room temperature for up to 1 week, in the refrigerator (layered between parchment) for up to 2 weeks, or freeze (again, between parchment layers) for up to 3 months.
Notes
- Do not attempt to reduce the sugar; it is vital for the candy’s texture and structure.
- This recipe cannot be made with low-sugar pectin, sugar substitutes, or using less sugar.
- You can use fresh or frozen strawberries; thaw before pureeing if using frozen.
- Work quickly when pouring the mixture into molds, as it thickens rapidly as it cools.
- Use parchment paper if not using silicone molds. Never use waxed paper or plastic wrap.
Nutrition
- Serving Size: 1 candy
- Calories: 35
- Sugar: 7g
- Sodium: 5mg
- Fat: 0g
- Saturated Fat: 0g
- Unsaturated Fat: 0g
- Trans Fat: 0g
- Carbohydrates: 8g
- Fiber: 0.2g
- Protein: 0.1g
- Cholesterol: 0mg

