
If you’re anything like me, you know that nothing quite beats the warm, buttery, garlicky goodness of freshly baked bread right out of the oven. I absolutely love how this Homemade Garlic Bread Recipe turns out every single time — it’s better than any takeout or frozen version I’ve ever had. Believe me, once you try this, your family and friends will be begging you to make it again and again. I’m so excited to share this easy, foolproof recipe that gives you crispy edges, soft inside, and that unbeatable fresh garlic flavor we all crave.
Why You’ll Love This Recipe
- Simplicity at Its Best: Just a handful of ingredients for maximum flavor without fuss.
- Fresh Garlic Flavor: Made with fresh garlic, no preservatives that dull the taste.
- Perfectly Crispy and Soft: Crispy crust meets melting buttery inside for total garlic bread bliss.
- Family Favorite: I’ve yet to meet anyone who doesn’t ask for seconds!

Ingredients You’ll Need
For this Homemade Garlic Bread Recipe, the ingredients are straightforward but each plays a crucial role in creating that dreamy balance of butteriness, garlicky punch, and herbaceous freshness. I always recommend using real unsalted butter and fresh garlic — the difference is night and day!
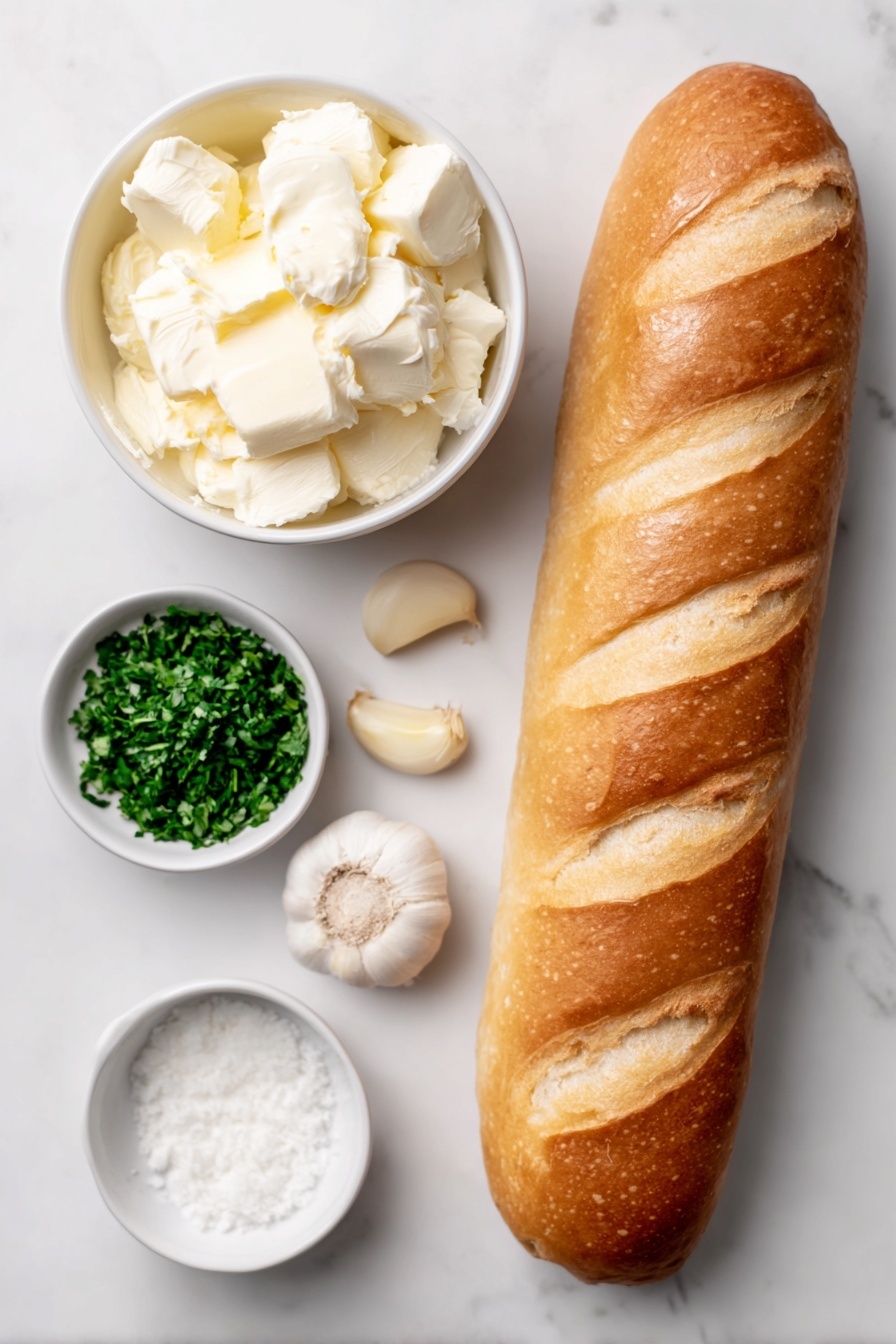
- French stick / baguette: Go for a soft-thin crusted baguette about 2 feet long to get that ideal crunchy yet tender texture.
- Unsalted butter: Softened but not melted — this helps you mix in the garlic evenly and get smooth spreading.
- Fresh garlic: Minced finely; fresh garlic provides a sharp, zesty flavor that powdered or jarred garlic can’t match.
- Salt: Just a pinch to bring out all the buttery and garlicky notes without overwhelming.
- Parsley (optional): Adds a lovely fresh, peppery note and a pop of color if you’re feeling fancy.
Variations
One of the most fun things about this Homemade Garlic Bread Recipe is how easily you can make it your own. Over the years, I’ve added my own twists based on the mood or occasion – and honestly, it’s always a hit.
- Cheesy Garlic Bread: Sprinkle mozzarella or parm on top before baking for a gooey, cheesy upgrade – my kids go wild for this version.
- Spicy Kick: Toss in a pinch of red chili flakes into the butter mixture if you like a bit of heat – balances beautifully with garlic.
- Herb Variations: Swap parsley for fresh basil, oregano, or chives for different herbaceous flavors based on what you have in the fridge.
- Vegan Option: Use dairy-free butter and skip parmesan for a delicious vegan garlic bread that’s still rich and satisfying.
How to Make Homemade Garlic Bread Recipe
Step 1: Get Your Bread Prepped Just Right
Start by preheating your oven to 200°C (390°F)—that’s hot enough to crisp up the edges while melting the butter inside. Then, take your French stick and cut it in half lengthwise. Next, score the bread almost all the way through into about 2cm (~4/5 inch) thick slices—this helps the garlic butter seep in between each slice and makes the bread easier to tear apart once baked.
Step 2: Whip Up That Heavenly Garlic Butter
Mix your softened unsalted butter with the minced fresh garlic, salt, and parsley if you’re using it. Give it a quick taste test—you want it garlicky enough to sing but balanced so you don’t overpower your taste buds. This step is where I discovered that a good-quality butter really shines; it adds a silky richness that stays luscious even after baking.
Step 3: Smear and Wrap
Spread that luscious garlic butter generously over the cut side of your bread and then smear the remaining butter over the top and sides. This ensures every bite is flavorful and moist. Once you’re done, wrap each bread half tightly in foil—this keeps the bread steaming and soft on the inside while the crust gets that perfect crunch.
Step 4: Bake to Perfection
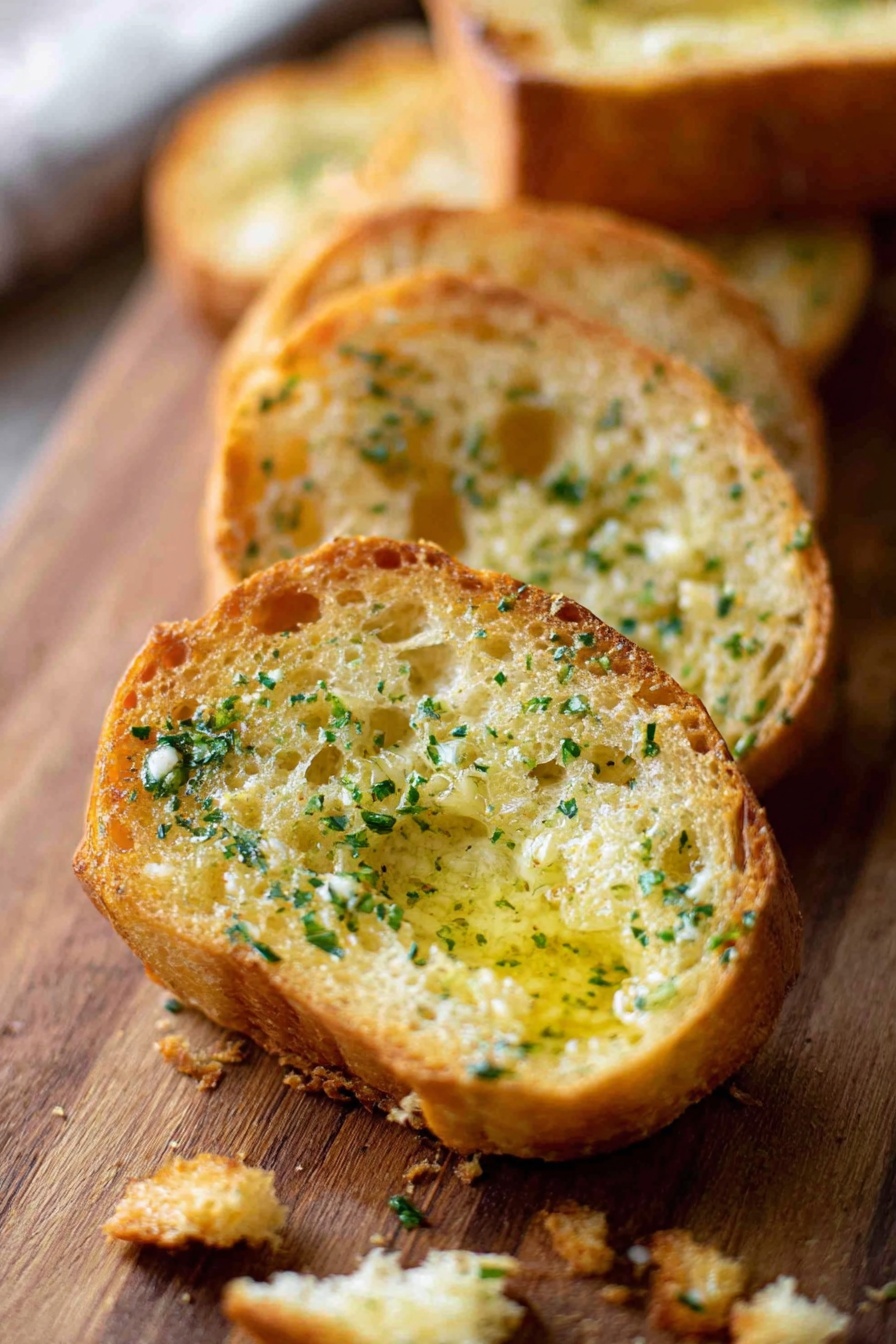
Pop your wrapped garlic bread in the oven for about 15 minutes. Peek through the foil to check that the crust is turning golden and crispy—it’s that golden crust that makes this Homemade Garlic Bread Recipe stand out from any store-bought or takeout version. Then unwrap and serve immediately so you get that fresh-from-the-oven magic.
Pro Tips for Making Homemade Garlic Bread Recipe
- Use Softened Butter, Not Melted: This helps the garlic blend evenly and prevents the bread from getting soggy.
- Don’t Skip the Scoring: Cutting almost through the bread lets the garlic butter penetrate deeply for maximum flavor in every bite.
- Wrap Tightly in Foil: Keeps the bread moist while baking and crisps up the crust beautifully—foil is your friend here!
- Timing is Everything: Bake just long enough for a crispy crust but still soft inside; check at 15 minutes to avoid drying it out.
How to Serve Homemade Garlic Bread Recipe
Garnishes
I love to sprinkle a little extra fresh parsley or some finely grated Parmesan cheese on top right before serving—it adds that extra fresh, salty pop that makes the bread look and taste restaurant-worthy. Sometimes, I also add a light drizzle of good-quality olive oil for that glossy finish and a touch more richness.
Side Dishes
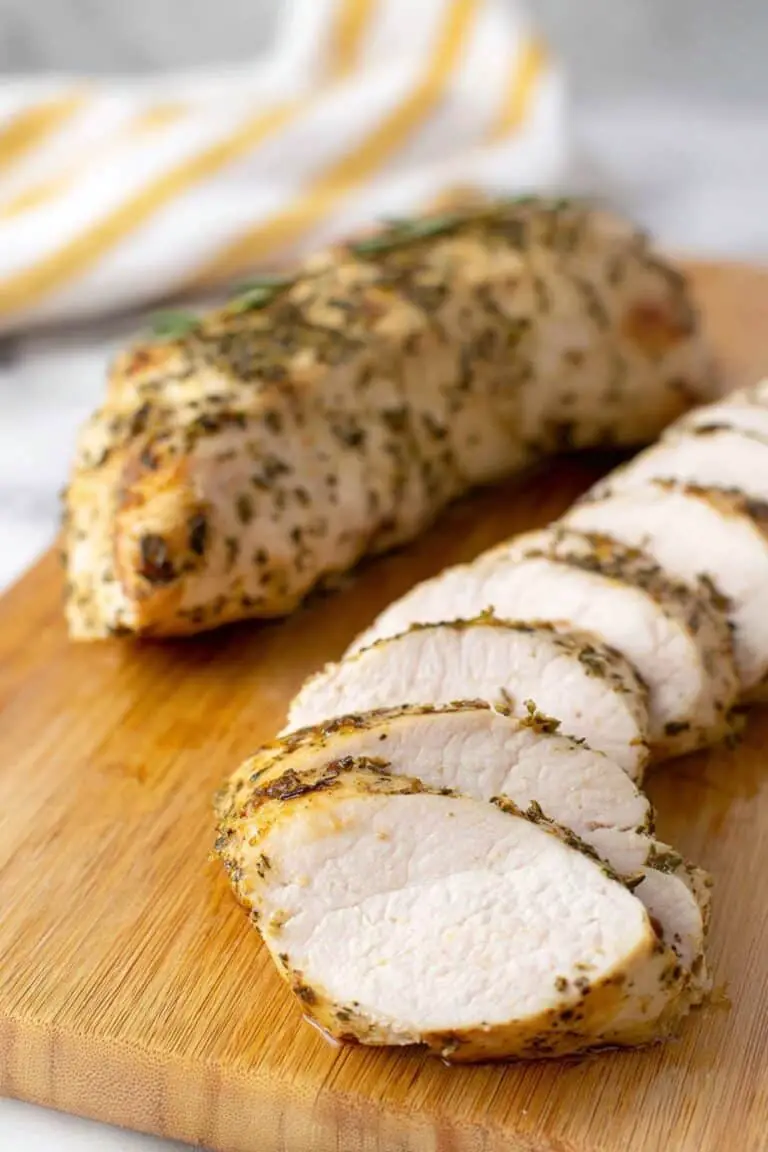
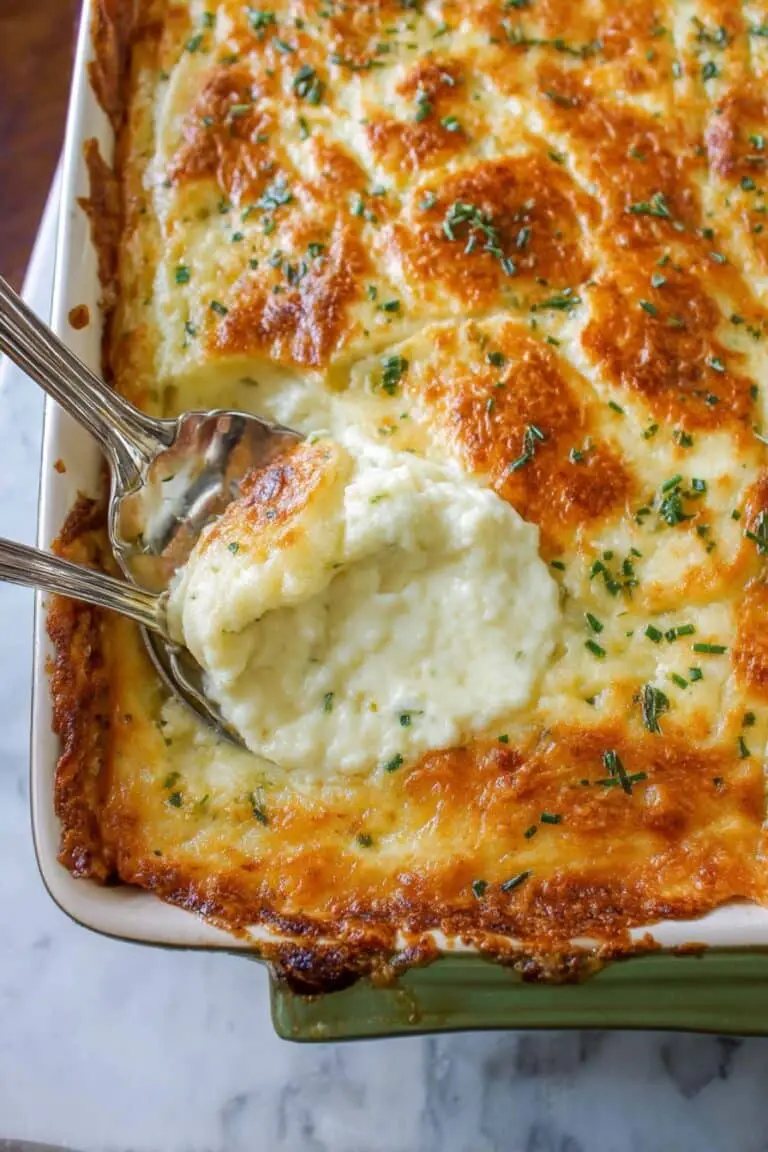
This garlic bread pairs beautifully with just about any meal. My go-to combos are hearty pasta dishes like spaghetti bolognese, creamy tomato soup, or even a roasted chicken dinner. It’s perfect for soaking up sauces and just makes any meal feel extra special and comforting.
Creative Ways to Present
For parties, I love arranging slices of this garlic bread in a lovely circular pattern on a wooden board and adding small bowls of marinara and basil pesto for dipping. It not only looks beautiful but becomes an interactive appetizer that everyone enjoys. You can also turn the scored slices into garlic breadsticks by separating them after baking—great for sharing!
Make Ahead and Storage
Storing Leftovers
Leftover garlic bread keeps well when wrapped tightly in foil or plastic wrap and stored at room temperature for up to a day. In my experience, it tastes best reheated within 24 hours to keep that fresh-baked texture and flavor.
Freezing
I’ve often frozen wrapped garlic bread halves before baking for a quick meal later. Just pull them out of the freezer and bake covered in foil at 200°C (390°F) for about 20-25 minutes until hot and crisp. Freezing fully baked garlic bread is also possible but tends to lose some freshness after reheating.
Reheating
To reheat leftover garlic bread, I like to unwrap it and place it on a baking sheet, popping it back in a 180°C (350°F) oven for about 5-7 minutes to revive the crisp crust while warming through. Avoid the microwave—it tends to make garlic bread soggy and rubbery.
FAQs
-
Can I use regular sandwich bread instead of a French stick for this garlic bread recipe?
While you can technically, the magic of this recipe comes from using a French stick or baguette with its thin crust and soft interior that crisps up perfectly. Sandwich bread tends to be too soft and can get soggy rather than crispy, so I recommend sticking with a French stick for the best texture.
-
How many cloves of garlic should I use for this Homemade Garlic Bread Recipe?
The recipe calls for about 3 to 4 cloves minced finely. However, if you’re a garlic lover like me, don’t hesitate to add more for a stronger kick—just be mindful that the flavor will intensify the longer the bread sits before baking.
-
Is it better to use salted or unsalted butter in garlic bread?
I prefer unsalted butter because it lets you control the salt level precisely in the garlic butter mixture. Using salted butter can sometimes make the bread too salty, especially once you add the additional salt in the recipe.
-
Can I prepare the garlic butter ahead of time?
Absolutely! You can mix the garlic butter a day in advance and store it covered in the fridge. Just remember to let it come to room temperature before spreading it on the bread for easier application and even flavor.
Final Thoughts
This Homemade Garlic Bread Recipe has become one of those kitchen staples I rely on to elevate simple dinners or impress guests without breaking a sweat. I love how easy it is yet how dramatically it beats any store-bought garlic bread you’ll find. Seriously, give it a try—you might find it becoming your new favorite comfort food just like it did for me and my family. Happy baking, friend!
Print
Homemade Garlic Bread Recipe
- Prep Time: 10 minutes
- Cook Time: 15 minutes
- Total Time: 25 minutes
- Yield: 6 servings
- Category: Side Dish
- Method: Baking
- Cuisine: Italian-American
Description
This Better-Than-Dominos Garlic Bread recipe features a soft, buttery garlic spread baked onto a French stick baguette to achieve a crispy crust and rich, fresh garlic flavor. It’s an easy-to-make, delicious homemade alternative to takeout garlic bread with perfectly balanced seasoning and a tender interior.
Ingredients
Garlic Bread
- 1 French stick / baguette, ~60cm / 2ft long
- 125 g / 1 US stick unsalted butter, softened
- 2 tsp fresh garlic, minced (~3 – 4 cloves, packed teaspoon)
- 1/2 tsp salt
- 2 tsp finely chopped parsley (optional)
Instructions
- Preheat Oven: Preheat your oven to 200°C (390°F) to ensure it reaches the ideal temperature for baking the garlic bread to a crispy finish.
- Slice Bread: Cut the French stick in half lengthwise. Then make cuts almost all the way through the bread into 2 cm (about 4/5 inch) thick slices, keeping the base intact to hold the loaf together.
- Make Garlic Butter: In a bowl, thoroughly mix softened butter, freshly minced garlic, salt, and finely chopped parsley. Taste the mixture to confirm it’s flavorful enough according to your preference, adjusting salt or garlic as needed.
- Apply Garlic Butter Inside: Generously spread the garlic butter over the cut inner sides of the bread slices, ensuring each crevice absorbs the flavorful butter.
- Butter the Exterior: Spread the remaining garlic butter over the top crust and sides of the loaf to enhance flavor and aid in crisping the outer crust during baking.
- Wrap in Foil: Wrap each prepared bread half tightly in aluminum foil to keep moisture in while baking, allowing the bread to soften inside without drying out.
- Bake: Place the wrapped bread in the preheated oven and bake for 15 minutes. Check through the foil to ensure the crust has turned crispy and golden.
- Unwrap and Serve: Carefully remove the foil and serve the garlic bread warm for the best texture and fresh garlic aroma experience.
Notes
- This homemade garlic bread offers far superior freshness compared to takeout versions thanks to the use of fresh garlic instead of preservatives, which can cause a sour flavor.
- For an authentic garlic bread experience, using an economical French stick or baguette with a thin, soft crust is preferred over artisan bread varieties.
- The recipe video linked above demonstrates each step visually to help perfect your technique.
Nutrition
- Serving Size: 1 serving
- Calories: 287 kcal
- Sugar: 0.5 g
- Sodium: 502 mg
- Fat: 18 g
- Saturated Fat: 11 g
- Unsaturated Fat: 6 g
- Trans Fat: 0 g
- Carbohydrates: 25 g
- Fiber: 1 g
- Protein: 4 g
- Cholesterol: 44 mg
