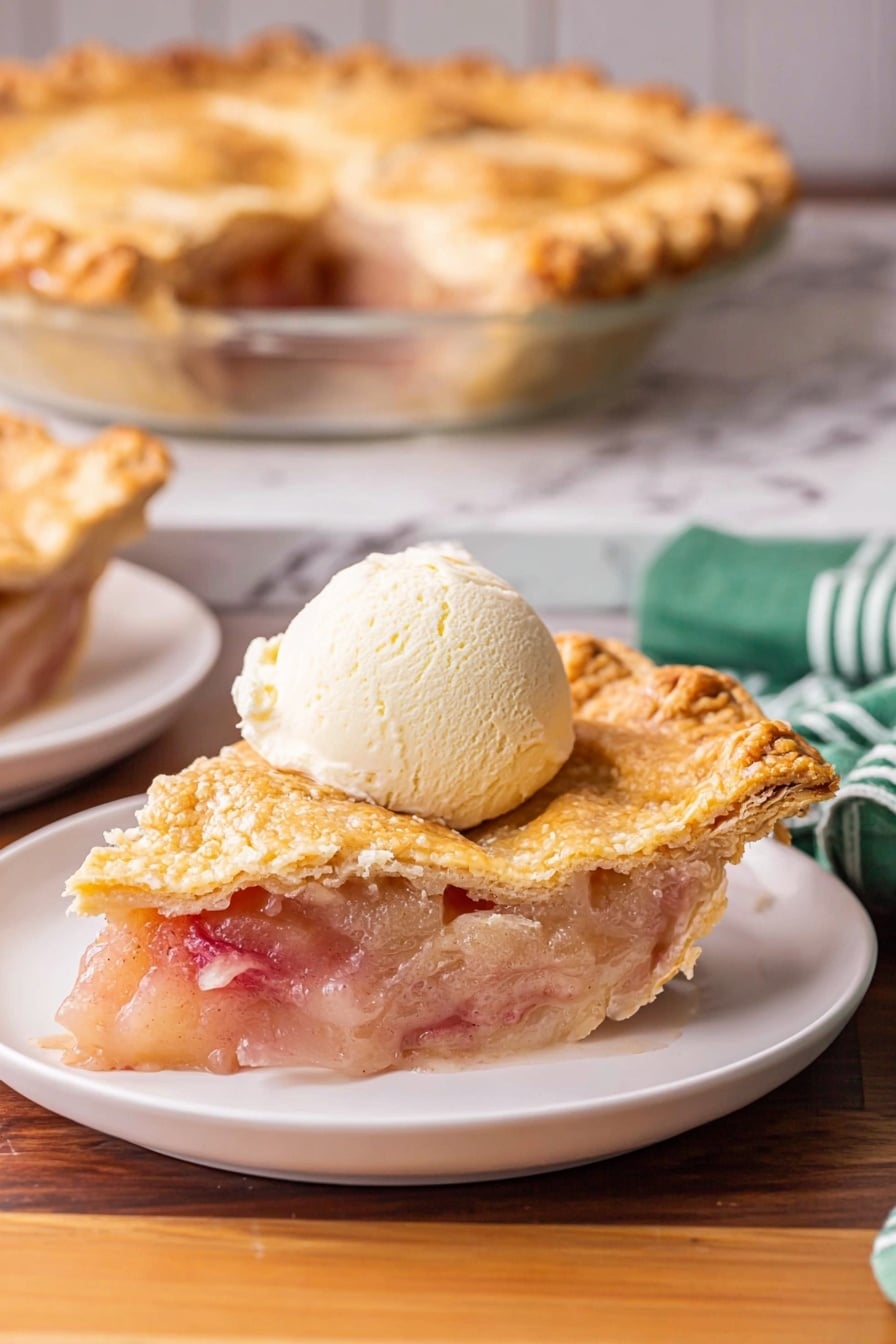
If you’re looking for a comforting, delicious dessert that’s both impressive and simple to pull together, you’re in the right place. This Easy Pear Pie Recipe is one of those treats that instantly feels like a warm hug on a plate. I absolutely love how the sweet, tender pears mingle with the hint of cinnamon and lemon zest, all wrapped up in that flaky, golden crust. Whether you’re a seasoned baker or just starting out, you’ll find this recipe straightforward and incredibly rewarding.
Why You’ll Love This Recipe
- Simple Ingredients: Uses basic pantry staples and fresh pears for easy shopping and prep.
- Perfect Balance of Flavors: Cinnamon and lemon zest add warmth and brightness without overpowering the pears.
- Flaky, Golden Crust Every Time: With the double crust setup, you get that classic pie texture that holds the filling beautifully.
- Family-Friendly Favorites: It’s a pie that’s been a hit with my family and friends, and I’m confident yours will love it too.

Ingredients You’ll Need
This recipe keeps things straightforward but flavorful, combining fresh Bosc pears with a few simple baking staples. When picking pears, I always go for firm but ripe ones to make sure they hold up in the pie filling without turning mushy.
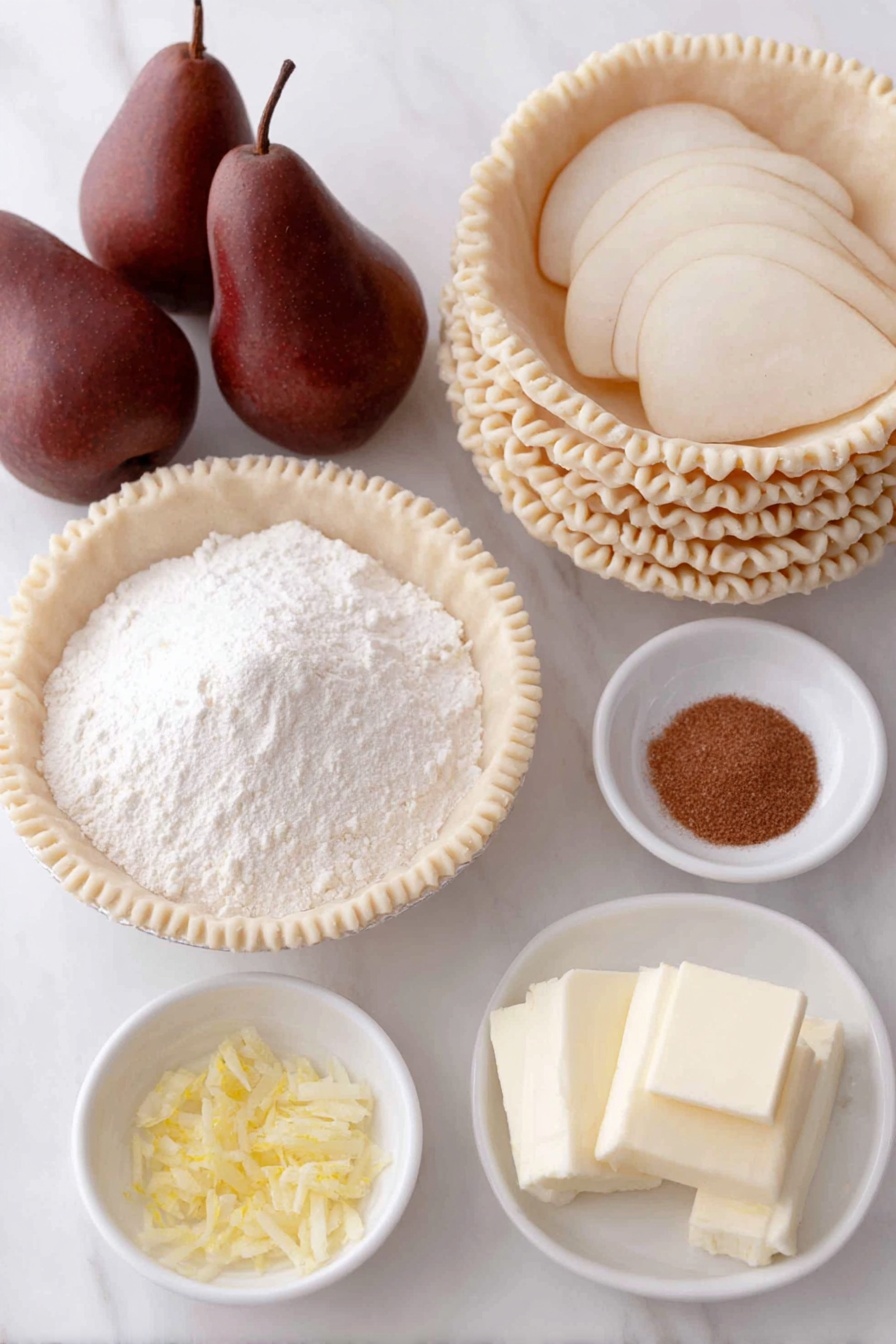
- Double pie crust: Store-bought works great here for convenience, but homemade is a lovely touch if you have the time.
- White sugar: Sweetens the pear filling just right; feel free to adjust based on your pear’s sweetness.
- All-purpose flour: Helps thicken the juicy pear filling so your pie isn’t watery.
- Salt: A pinch balances and enhances all the flavors.
- Ground cinnamon: Adds that cozy warmth we all crave in fall desserts.
- Lemon zest: Brightens and lifts the whole pie, cutting through the sweetness.
- Bosc pears: Their firm texture and rich flavor are ideal for pies.
- Butter: Dotted on top to create pockets of richness in the filling.
- Lemon juice: Prevents browning of pears and adds just a hint of tartness.
Variations
I love playing around with this Easy Pear Pie Recipe depending on what I have on hand or the season. You can make it your own without any stress—here’s how I’ve tweaked it over time.
- Spiced Up: Adding a pinch of nutmeg or ginger alongside the cinnamon gives it an extra cozy vibe for holiday baking.
- Fruit Mix: Mixing in a few sliced apples or even some cranberries creates interesting textures and a fresh twist.
- Vegan Option: Swap the butter for vegan margarine and use a dairy-free pie crust to keep things plant-based.
- Gluten-Free Crust: Use a gluten-free pie crust to accommodate dietary preferences without losing out on taste.
How to Make Easy Pear Pie Recipe
Step 1: Prepare Your Oven and Pie Crust
Start by preheating your oven to 450°F. I like placing a baking sheet on the bottom rack—it catches any drips and helps the bottom crust crisp up nicely. Roll out half the dough and gently line your 9-inch pie pan. If you’re like me and sometimes struggle with dough sticking, lightly flour your surface and rolling pin to keep things smooth.
Step 2: Mix Your Filling
In a bowl, combine the sugar, flour, salt, cinnamon, and lemon zest. This dry mixture is your secret weapon for a perfectly balanced filling that thickens as it bakes. Peel your pears and slice them about ¼-inch thick—try to keep the slices similar size so the pie cooks evenly.
Step 3: Assemble the Filling
Layer your pear slices in the crust-lined pan, sprinkling some of the sugar mixture atop each layer—that way, every bite gets a touch of sweetness and spice. Dot the butter evenly across, then lightly sprinkle the lemon juice to keep those pears bright and fresh during baking.
Step 4: Add the Top Crust
Roll out the remaining pie dough and carefully lay it over the filling. I dip my fingers in water and gently moisten the edges of the bottom crust before sealing to help the crusts stick together perfectly. Trim the excess dough, fold the top crust edge under the bottom, and flute to create a pretty, sealed border. Don’t forget to cut a few slits in the top crust—that’s how the steam escapes and prevents sogginess.
Step 5: Bake to Perfection
Pop your pie on the preheated baking sheet and into the oven for 10 minutes at 450°F—that first burst of heat gives the crust a nice lift. Then, lower the temperature to 350°F and continue baking for 35 to 40 minutes until the crust is golden and the filling bubbles enticingly. I usually peek halfway through to shield the edges with foil if they’re browning too fast.
Pro Tips for Making Easy Pear Pie Recipe
- Choose Ripe but Firm Pears: I learned the hard way that overly soft pears make the filling mushy—Bosc pears are perfect for their firmness and sweetness.
- Don’t Overwork Your Dough: Keeping your crust cold and handling it minimally helps keep it flaky, which is just heavenly.
- Use a Baking Sheet: Catching drips saves your oven and crisps the bottom crust nicely—trust me, it’s a game-changer.
- Protect Crust Edges: Shielding the edges with foil during baking prevents burning, which I always do once I see those edges browning too fast.
How to Serve Easy Pear Pie Recipe

Garnishes
I love serving this pie with a scoop of vanilla ice cream or a drizzle of caramel sauce to complement the pear’s natural sweetness. A sprinkle of powdered sugar or a few toasted nuts on top adds a lovely finishing touch and a bit of crunch that guests always comment on.
Side Dishes
This pie shines as a comforting finale, but if you’re looking to balance your meal, try pairing it with a simple green salad or roasted turkey for holiday dinners—the light salad balances the richness perfectly.
Creative Ways to Present
For special occasions, I sometimes brush the pie crust with egg wash and sprinkle a little coarse sugar before baking to give it a sparkling, bakery-style finish. Or try cutting the top crust into pretty leaf shapes for a festive look that always impresses friends and family.
Make Ahead and Storage
Storing Leftovers
I usually cover leftover slices loosely with foil or plastic wrap and keep them in the fridge, where they stay fresh for about 3 days. The flavors actually mellow and improve after resting overnight, which can make reheated slices taste even better.
Freezing
This pie freezes well either baked or unbaked. I wrap it tightly in plastic wrap and then foil, which helps preserve that fresh-baked taste later. When you’re ready to enjoy it, thaw overnight in the fridge before reheating.
Reheating
To revive leftover pie, I pop slices into a 350°F oven for about 15 minutes, which crisps the crust back up and warms the filling just right. Avoid microwaving if you want to keep the crust flaky and texture intact.
FAQs
-
Can I use other types of pears for this pie?
Absolutely! While Bosc pears are my top pick for their firmness and sweetness, you can use Anjou or Bartlett pears too. Just make sure they’re ripe but firm to avoid a mushy filling.
-
Is it necessary to use lemon juice in the filling?
Lemon juice helps prevent the pears from browning and adds a subtle brightness that balances the sweetness. You can skip it, but I recommend keeping it for best flavor and appearance.
-
Can I make this pie crust from scratch?
Definitely! Homemade pie crust adds a lovely touch if you have the time. Just be sure to keep your ingredients cold and handle the dough gently for a flaky crust.
-
How do I know when the pie is done baking?
The crust should be golden brown all over, and you’ll see the filling bubbling up through the slits in the top crust. This bubbling is a good sign that the filling is cooked through and thickened properly.
-
Can I make this pie ahead of time?
You can definitely prep the pie a day ahead, keeping it covered in the fridge before baking. Alternatively, bake it fully and reheat gently before serving. Just keep in mind the crust will be crispest fresh out of the oven.
Final Thoughts
This Easy Pear Pie Recipe is one of those gems that’s stood the test of time in my kitchen. It’s approachable for beginners but delicious enough to impress company, and I love how it transforms simple, fresh ingredients into a heartwarming dessert. I truly hope you’ll give this pie a try and enjoy that wonderful moment when you cut into it and the aromas fill your home—it’s pure magic. Trust me, your friends and family will thank you!
Print
Easy Pear Pie Recipe
- Prep Time: 20 minutes
- Cook Time: 50 minutes
- Total Time: 70 minutes
- Yield: 6 servings (6 slices)
- Category: Dessert
- Method: Baking
- Cuisine: American
Description
This easy pear pie recipe delivers warm fall flavors with a classic double crust and a perfectly spiced pear filling. Featuring Bosc pears layered with a cinnamon-sugar mixture and lemon zest, this pie offers a delightful balance of sweetness and tang. Ideal for fall desserts, it bakes to a golden-brown crust with a bubbly filling, making it a family favorite for any occasion.
Ingredients
Pie Crust
- 1 double crust
Filling
- ½ cup white sugar
- 3 tbsp all-purpose flour
- ¼ tsp salt
- 1 tsp ground cinnamon
- 1 tsp lemon zest
- 5 cups peeled and sliced Bosc pears (about 4-5 medium pears)
- 1 tbsp butter, diced
- 1 tbsp lemon juice
Instructions
- Preheat Oven: Preheat your oven to 450 °F (232 °C) and place a baking sheet on the bottom oven rack to catch any drips and help with even baking.
- Mix Dry Ingredients: In a medium mixing bowl, combine white sugar, all-purpose flour, salt, ground cinnamon, and lemon zest. This mixture will add sweetness and spice to the pear filling.
- Prepare Pears: Peel the Bosc pears and slice them into approximately ¼-inch thick slices for even cooking and texture.
- Assemble Pie Base: Roll out half of the pie pastry and line a 9-inch pie pan evenly. Arrange the pear slices in layers inside the lined pie pan, lightly sprinkling some of the sugar-flour mixture over each layer for flavor and to help thicken the filling.
- Add Butter and Lemon: Dot the layered pears with small pieces of diced butter, then sprinkle lemon juice evenly over the filling to enhance freshness and prevent browning.
- Top Crust: Roll out the remaining pie dough dough, moisten the rim of the bottom crust with water, then carefully lay the top crust over the filling. Trim the edges using kitchen shears or a sharp knife, fold the edges under the bottom crust, and press to seal. Create decorative fluted edges and cut slits in the top crust to allow steam to escape during baking.
- Bake at High Temperature: Bake the pie on the preheated baking sheet at 450 °F for 10 minutes to start the crust browning.
- Reduce Temperature and Continue Baking: Lower the oven temperature to 350 °F (177 °C) and bake for an additional 35 to 40 minutes or until the crust is golden brown and the filling is bubbly and cooked through.
Notes
- Warm fall flavors make this pear pie a comforting classic that’s perfect for the holidays or any autumn day.
- Using Bosc pears provides firmness and a good balance of sweetness for the filling.
- Adjust the sugar according to the sweetness of your pears or personal preference.
- Cutting slits in the top crust is essential for steam to escape and to prevent a soggy crust.
- Let the pie cool before slicing to allow the filling to set properly for clean slices.
Nutrition
- Serving Size: 1 slice (1/6 of pie)
- Calories: 173 kcal
- Sugar: 30 g
- Sodium: 114 mg
- Fat: 2 g
- Saturated Fat: 1 g
- Unsaturated Fat: 1.2 g
- Trans Fat: 0.1 g
- Carbohydrates: 40 g
- Fiber: 4 g
- Protein: 1 g
- Cholesterol: 5 mg


